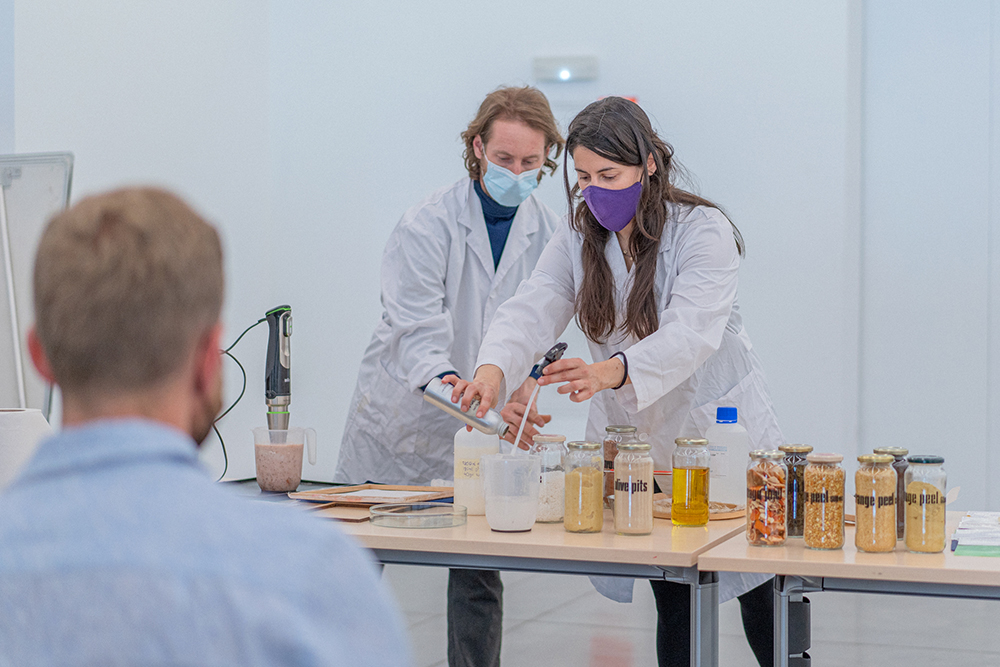
Alginate based bioplastics Casting

| Path | Target | Duration | Skills |
|---|---|---|---|
| Discovery | all | 3h | Bio-fabrication |
Introduction and context
The activity aims at introducing participants to alginate based bioplastics Casting
Target audience and context of use
Creatives and professionals, such as producers, designers, architects, biologists, SMEs, and companies with interest in sustainability and alternative innovative biobased materials. Take a look at the Rotation station workshop if you wanna run a biomaterial demonstration
Preparation and materials
Dive into the references provided in this page, select your recipes and create your team of facilitators. Organize some testing sessions and brief meetings for coordinating with facilitators.
Be careful. Check you have all the tools and materials needed and that you will have time to wrap up your tools, set up the logistics for the event room.
Prepare in advance:
- Liquid mix of sodium alginate
- Molds
Equipment, Tools and Materials
- Table + chairs
- Video recording and photo set up
- Blender
- Pot
- Embroidery hoop D: 20cm
- texture dense fabric
- Digital scale
- Sprayer bottle
- Syringe
- Food dehydrator
- 4gr Sodium Alginate
- 200ml Water
- 8gr Glycerin
- Olive Oil
- Dried shredded food waste (coffee grains, orange peels, avocado pits, eggshells, tea leaves, etc.) For Spraying :
- 10 gr calcium chloride
- 100 ml water
Step by Step Instructions
STEP BY STEP overview
- Add the sodium alginate to the water.
- Blend the mix until it becomes homogeneous.
- Add the glycerine and blend again.
- Add the filler and blend again.
- Place in the fridge overnight, to lose bubbles.
- Mix 100ml of water with 10 grams of calcium chloride.
- Stir until completely dissolved.
- Place the mix in the sprayer bottle.
- Shake the bottle before use.
- Take the waterproof texture dense fabric, place and fix it in the embroidery hoop.
- Spray the textile mold with calcium chloride.
- Remove excess with a paper towel.
- Take the bubble free sodium alginate mix.
- Pour the mix onto the textile mold.
- Tap the mold so the mix distributes evenly over the surface.
- Spray the surface of the mix with calcium chloride.
- Remove excess with a paper towel.
- Let dry over a radiator or in a food dehydrator
- For 40°C for 24 hrs.
- Take out of the frame after 7 days.
- Pull slowly from the border of the bioplastic until completely detached.
Safety rules & Tips
- Working with an induction heat plate is safer
- Do not stand inhaling over the pot if there is alcohol in the recipe
- Use towels to pick up hot pots
- Use a lab coat or apron for keeping yourself clean
- Tie your hair up
Flyer for participants
Tips to facilitate the activity in context (to-do / not do)
See similar activities
Estimated cost
Always consider to find local providers.
References
More information about the Remix El Barrio exhibition and tutorials that participants can visit and look at. Tutorials

Licence and credits

Attribution — ShareAlike CC BY-SA This activity has been designed by Anastasia Pistofidou for shemakes.eu. It is based on Fabricademy´s learning content of Biofabricating Materials, FabTextiles´ open publications and Iaac Fab Lab Barcelona´s learning experiences methodology.
Related and supporting activities/modules
It can be combined with the other topics of Biofabrication.