E-textiles#
Global Instructor: Liza Stark
Fabricademy participants will be introduced to an overview of the field of electronic textiles, example works in the field as well as materials and technical developments that have made these projects possible. We will go into details on different techniques for making soft/flexible/fabric circuits. We will also introduce idea of microcontrollers using ATTINY as an example. We will cover simple exercise of opening blink LED example, going over the code basic and uploading to have the first step into arduino programing.
The exercise for the week will be to replicate/copy the swatch example, program your own ATTINY microcontroller with example code and design a basic circuit using the techniques of your choice.
We ask each participant to create at least one analog fabric sensor and one digital sensor we mention in the course. Then create a fabric circuit using one or more of the connection technique (embroidered circuit, laser cut circuit, vinyl cut circuit) we cover in the course. They can connect the sensors simply with LED and a battery, or connect with programmed ATTINY to give a behavior to the fabric circuit. One can use buzzer speaker instead of LED as an actuator.
Program outline#
- Introduction (10 min)
-
Why soft, why embedding
-
What is electricity? (15 min)
- What is a circuit
- How does electricity move
-
Voltage, Resistance, Current
-
Conductive materials (10 min)
- Fabrics - resistive/conductive
- Threads - resistive/conductive
- Inks - resistive/conductive
-
Tools (10 min)
- Vinyl cutter, laser, embroidery, machine sewing
- Multimeter, soldering iron
-
Hard/soft connections (10 min)
- Machine-sewable Hard/Soft Connections
- Crimp beads
- Perfboard/Conductive thread
- Metal machine popper/Conductive fabric
- Hand sewable metal popper/Conductive thread
- Wire/Conductive fabric (soldering)
-
Wire/Conductive thread (soldering)
-
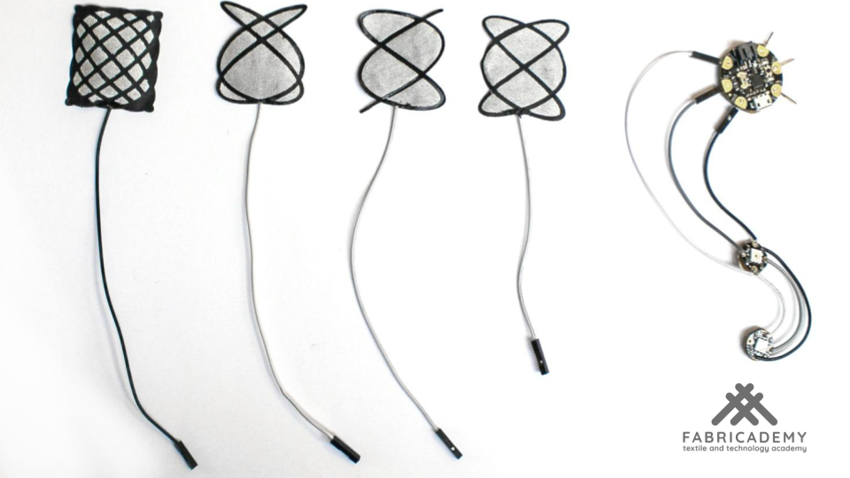
Soft sensors (35 min)
- Digital
- Switches - momentary/toggle
- Tilt
- Joystick
- Stroke
- Analog
- Pressure sensor
- Potentiometers
- Stretch sensors - fabric/knit
- Bend sensors
-
Accelerometer
-
Programming (60 min)
- Intro to microcontrollers and board computers
- Connecting to the microcontroller
- Reading code
- Sensor circuits
- Voltage dividers
- Pull up/down resistors
- Tips for making data meaningful
Tools/Software#
- Multimeter
- Soldering iron (Soldering station)
- Pliers, wire stripper, flush snips, tweezers
- Vinyl cutter
- Embroidery / Sewing machine
- Needles
- Arduino IDE
Materials#
| Material | Details |
|---|---|
| Microcontroller | Arduino UNO or ATtiny |
| ATtiny | ATtiny45 or ATtiny85 |
| AVR programmer | or Arduino UNO |
| Arduino kit | Arduino Starter kit |
| Neopixels | sewable Flora neopixels |
| Adafruit Gemma | Gemma board |
| Circuit Playground | optional |
| FTDI cable | or FTDI board |
| Craft glue | E6000 |
| Fabrics | resistive/conductive fabrics |
| Threads | resistive/conductive threads |
| Inks | resistive/conductive inks (thermochromic ink) |
| Velostat | pressure-sensitive conductive sheet |
| Snap metal buttons | +Metallic zippers |
| Copper tape | + isulating tape |
| Actuators | Mini vibration motors, speakers… |
| Wires | jumpers, alligator clips |
Assignment#
- Fabricademy participants will have to produce one digital and one analog soft sensor experimenting with the materials available at the lab.
- They will have to use arduino to read and understand their soft sensor.
- Try to reproduce the same sensor with different materials/techniques (hard/hard hard/soft soft/soft):
- Create your one digital and one analogue soft sensor
- Program a LED interaction with your soft sensor
- Intergate it in a swatch using hard-soft connections
Evaluation and assessment#
Check the Assessment Criteria
References#
Fabricademy Tutorials - E-textiles
- Kobakant - conductive materials
- Conductive materials - hard soft connections
- Conductive materials - soft sensors