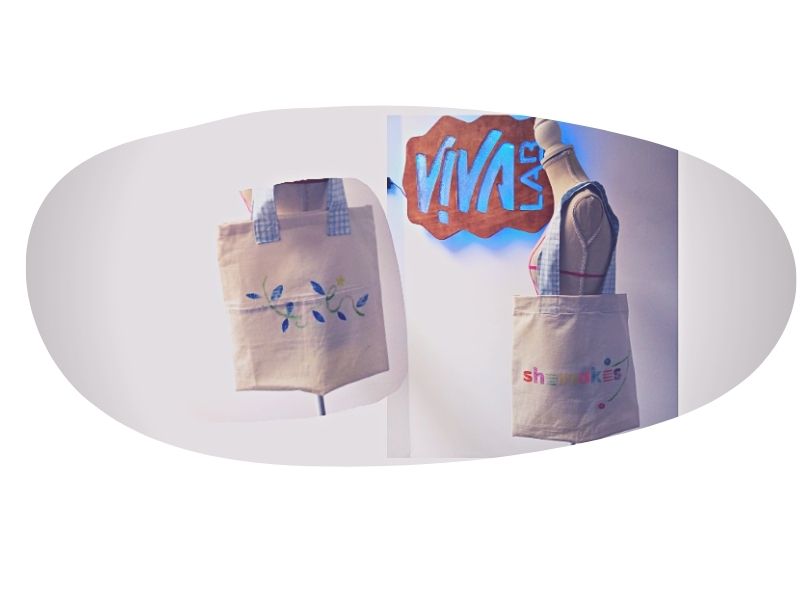
Sew my Tote Bag
| Path | Target | Duration | Skills |
|---|---|---|---|
| Curiosity | Kids 8 to 18 | 1,5 h | Arts, 2D Digital Fabrication |
Introduction and context
Abstract
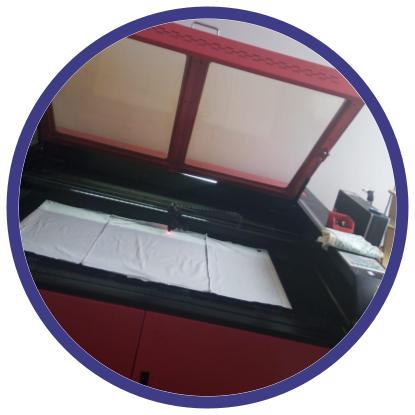
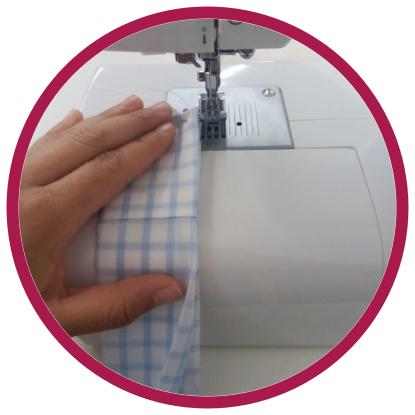
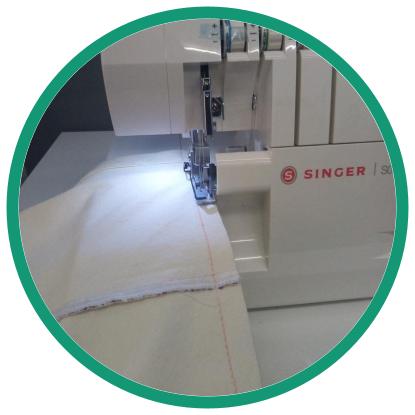
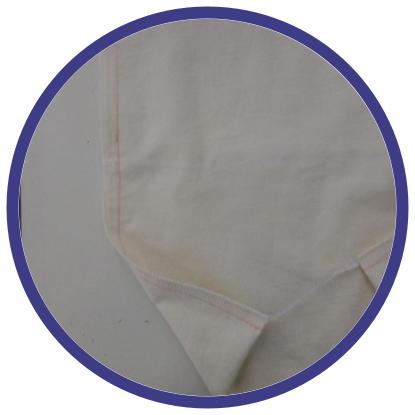
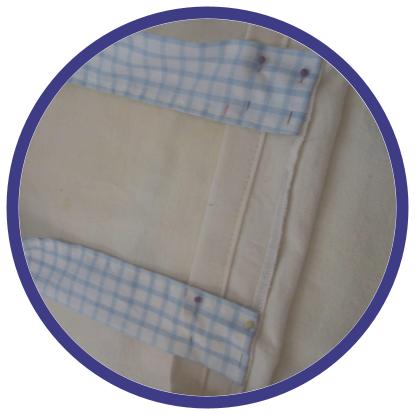
In order to create a Tote Bag, three stages will be needed: One is the cutting, a laser cutter will be used, if you don't have one, nevermind a good scissors can be used. The second element is the assembly of the pieces, and last but not least, sewing the pieces.
Learning through making is another core methodology in the VIVA Lab and makerspace environment. This way to learn involves your own capacities with the materials, going through a process of awareness. Awareness of your own abilities and from the overproduction of our society these days. Creating by doing will always go dipper in the learning process and the consciousness of ourselves and the others.
The commun use of this piece (tote bag) around the world makes it an interesting and recognizable piece for any person interested in sewing.
Intro
The duration of this complete activity (cut + assemble + sew) is 3h including a short introduction to “how to use a sewing machine” and basic rules about sewing.
This activity is a 0 to 10 activity, since any of the materials is already pre-ready, the participant will create the whole piece from 0. Giving a real vision of all the processes involved.
The ideal number for each group is 6-8 teenagers ( 12 to 18) or adults. One instructor is needed for each group.
As a sew activity, each participant will need a sewing machine. So we recommend creating the group according to the machines available.
Objectives
The activity aims at introducing participants to sewing techniques and to develop certain logic regarding fabric assembly. The purpose of the learning activity is to integrate sewing knowledge to anyone interested in the topic.
Learning Outcomes:
- Get an overview of the creation process of a usable clothes/accessory
- Understand how a sewing machine works
- Create a ready to wear piece
- Understand how a plain textile becomes a estructure piece
- Get in touch with the materials that we already used, by using clothes, but from other point of view (creator)
Target audience and context of use
Teenagers, adults, families, educators with interest in learning sew concepts with simple materials just to learn or to apply this knowledge.
This activity can be celebrated in different places like museums. Set up a collaboration between your lab, material centers and a cultural center or museum.
The booklets can be printed and given to the participants with the kit of materials
Tips: set up an eventbrite/application form for registration and communicate via your channels.
Recommended number of attendees (6-8) per group and instructor
Preparation and materials
Prepare the kits of materials for each participant and also prepare the instructor’s Tote Bag to show it to the participants.
Create your team of facilitators and organize some testing sessions and brief meetings for coordinating with facilitators.
Be careful. Check if you have all the tools and materials needed and that you will have time to wrap up your tools, set up the logistics for the event room.
Prepare in advance:
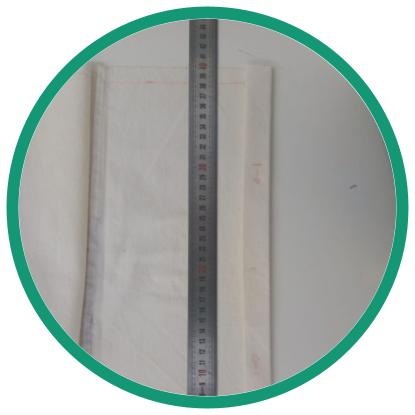
- Fabric ( 40x90 cm + 28x70 cm)recommended fabric without elasticity.
- Fabric marker/watercolor pencil
- Sewing machine
- Needle
- Thread
- Overlock machine (opcional), can be replace with zig-zag
- Laser cutter, can be replace with scissors
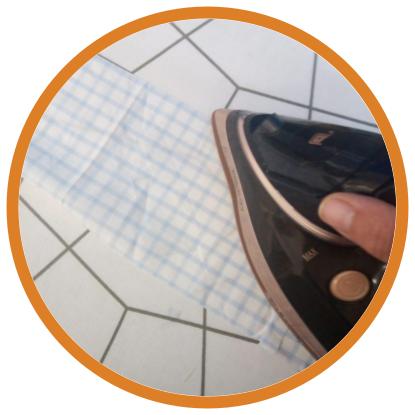
- Iron
- Pins
Equipment, Tools and Materials
- chairs (1 per participant)
- tables (1 per participant)
- Sewing machine
- Needle
- Overlock machine (opcional), can be replace with zig-zag
- Laser cutter, can be replace with scissors
- Iron
- Pin
- Neadle
- Fabric marker/watercolor pencil
- Fabric ( 40x90 cm + 28x70 cm)recommended fabric without elasticity.
- Thread
Step by Step Instructions
STEP BY STEP overview
Safety rules & Tips
- Close the laser cutter while is working (explain the risks about letting it open)
- Explain the safety space when using a sewing machine
- Turn off the sewing machine until is time to use it again and turn on, only after your safety space explanation
Flyer for participants
Downloadables
| Brochure | Design |
|---|---|
| Brochure | Design |
Tips to facilitate the activity in context (to-do / not do)
- Explain each stage of the activity to the whole group, otherwise you will have to explain it to one by one on every step
Estimated cost
You might plan some costs for getting the materials and tools but also some fees linked to your collaboration with the place you run the workshop. Always consider to find local providers.
| Quantity | Description | Link to Vendor |
|---|---|---|
| 3m-4m | Cotton Fabric (leftovers are welcome) | Local fabric - textile store |
| 6-8 | Thread (cotton) | Local fabric- textile store |
| 10-12 | Needle | Local fabric- textile store |
| 2-4 boxes (small) | Pins (fabric pin, 50 pcs) | Local fabric - textile store |
| 6-8 | Fabric scissors | Local fabric - textile store |
| 6-8 | Regular scissors | Office supplies store |
| 2-3 | Irons | Electronics store |
Licence and credits

Attribution — ShareAlike CC BY-SA This activity has been designed by Ahara Miranda for shemakes.eu. It is based on VIVA Lab learning experiences and methodology.
Related and supporting activities/modules
It can be combined with the other topics of Topic/skills, within the Sustainability Package of Fabricademy, such as OS Circular Fashion.