Embroidery and code
Code + Textile
| Path | Target | Duration | Skills |
|---|---|---|---|
| Discovery | 18-25 | 2 days | Digital Design, code, embroidery |
Objectives
This workshop aims at introducing beginners to code by using a tangible medium. Using the gender bias of textile to counter balance the gender bias of new technologies.
-
Learning Outcomes:
-
Feel more relaxed towards programming
- Understand the basic concepts of programming
- Have an overview of the use of the embroidery machine
Target audience and contexts of use
Students with an interest in textiles, art school teachers.
To teach this use, one computer per person is required as well as an embroidery machine for the whole group.
Recommended number of participants: 13
Preparation and materials
Equipment, tools and materials
- Embroidery machine
- Computers with a web browser
- Sufficiently spacious tables and chairs
- A screen or projector for the demonstration
- Scissors
- Pencils
- Paper
- Ruler
- Left-over fabrics
- Embroidery backing fabric
- Embroidery threads
Introduction and context
TurtleStitch is a web app with which you can generate patterns for embroidery machines.
TurtleStitch is based on Turtle Graphics, drawings that are produced by a turtle-shaped robot guided by the LOGO programming language. LOGO was invented in the late 60s by mathematician Seymour Papert, based on the observations of psychologist Jean Piaget. Piaget studies learning mechanisms, especially within children. A child has difficulties to grasp cartesian projection, cardinal landmarks. S·he rather has a perception of space that is relative to him·herself. The turtle robot follows the child's instructions. In order to guide it, one has to act as if s·he was the turtle: tell it to turn x degrees from where it's facing, move forward x meters from where it stands…
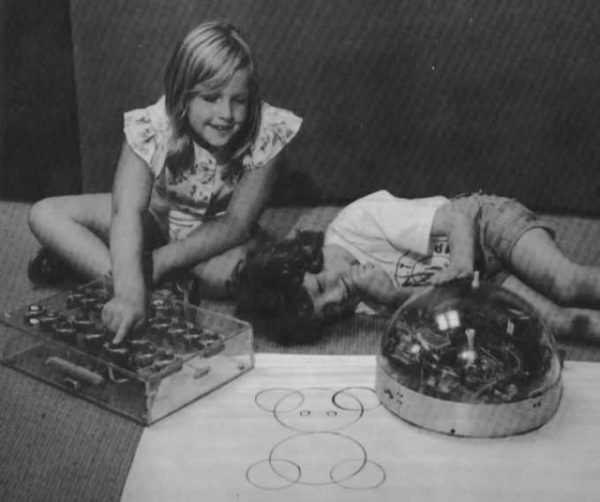
Therefore children learn to decompose movements of a drawing to transmit those instructions to the roboturtle. From there, they can learn programming principles: geometrical constructions, repetitions, variables…
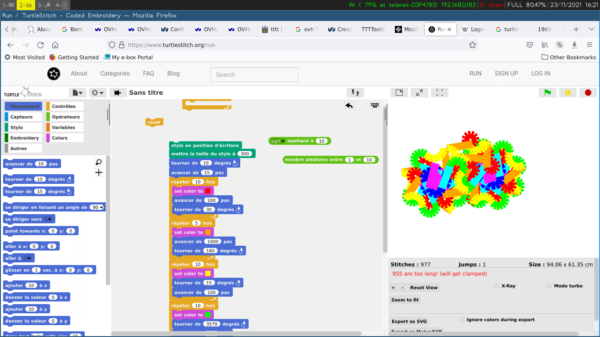
 ↑↑↑ Here, a pentagon is repeated (for loop) with a radius variable increased at each iteration.
TurtleStitch is an adaptation of TurtleGraphics dedicated to embroidery. It offers different embroidery stitches and detects when they could be issues for the embroidery machine (too many stitches at the same spot, length of line too important…). Besides, TurtleStitch offers a graphical interface with a puzzle analogy, inspired by Scratch or Blocks, which was conceived for children. Although most programming languages use English for its key words, TurtleStitch is traslated in many languages. Therefore one can code in its own language which makes it more accessible for people to learn, especially children.
 ↑↑↑ TurtleStitch being used by an 8 year old child
TurtleStitch
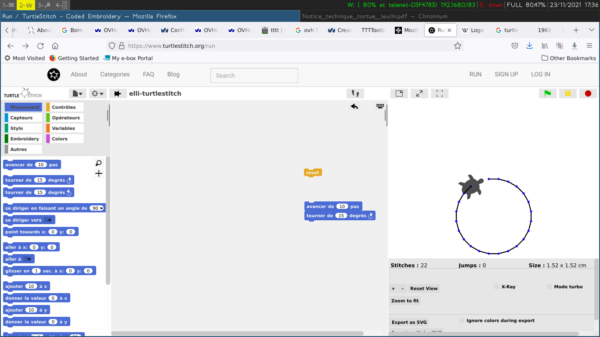
On the left, commands are listed by categories. To use one command, you drag & drop it to the work space in the middle. Commands fit into each other like puzzle pieces. To execute the code, you can click on the constructed block. You can click on it several times to execute it over and over again. For example, here, by clicking 23 times, a quasi-circle has been drawn. The reset button clears the canvas and puts the turtle back to its starting point in the middle of the canvas.
 ↑↑↑ Interface de TurtleStitch
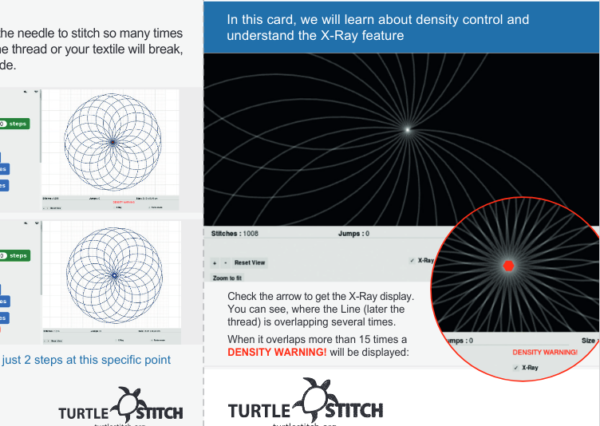 ↑↑↑ TurtleStitch shows you when a zone is too dense and could block the needle.
Drawing commands
There are two zones on the canvas. The biggest one measures 20×20cm; the smalles one with a finer grid measures 10×10cm. The turtle always starts from the middle of the canvas, looking towards the right side of the canvas.
- (Control) reset → Clears the drawing and puts the turtle back to start position
- (Movement) move [ ] steps
- (Movement) turn ↻ [ ] degrees → rotate [ ] degrees clockwise
- (Movement) turn ↺ [ ] degrees → rotate [ ] degrees anti-clockwise
Embroidery commands
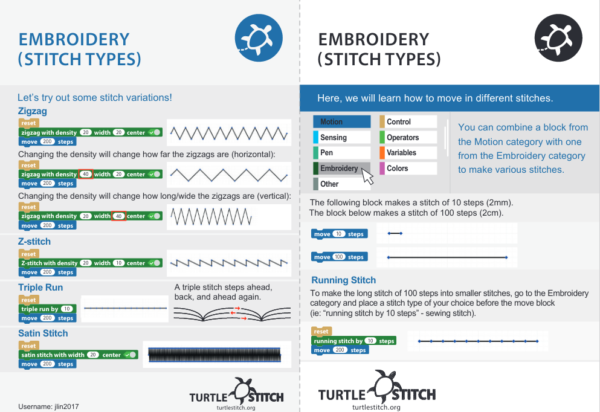 ↑↑↑ Available embroidery stitches
- (Embroidery) running stitch by [ ] steps
- (Embroidery) triple run by [ ]
- (Embroidery) cross stitch in [ ] by [ ]
- (Embroidery) zigzag with density [ ] width [ ]
- (Embroidery) Z-stitch with density [ ] width [ ]
- (Embroidery) satin stitch with width [ ]
- (Embroidery) tatami stitch width [ ] interval [ ]
- (Embroidery) jump stitch → se déplacer sans faire de point de broderie
- (Embroidery) tie stitch → faire un nœud
- (Embroidery) trim → couper le fil
Programming elements
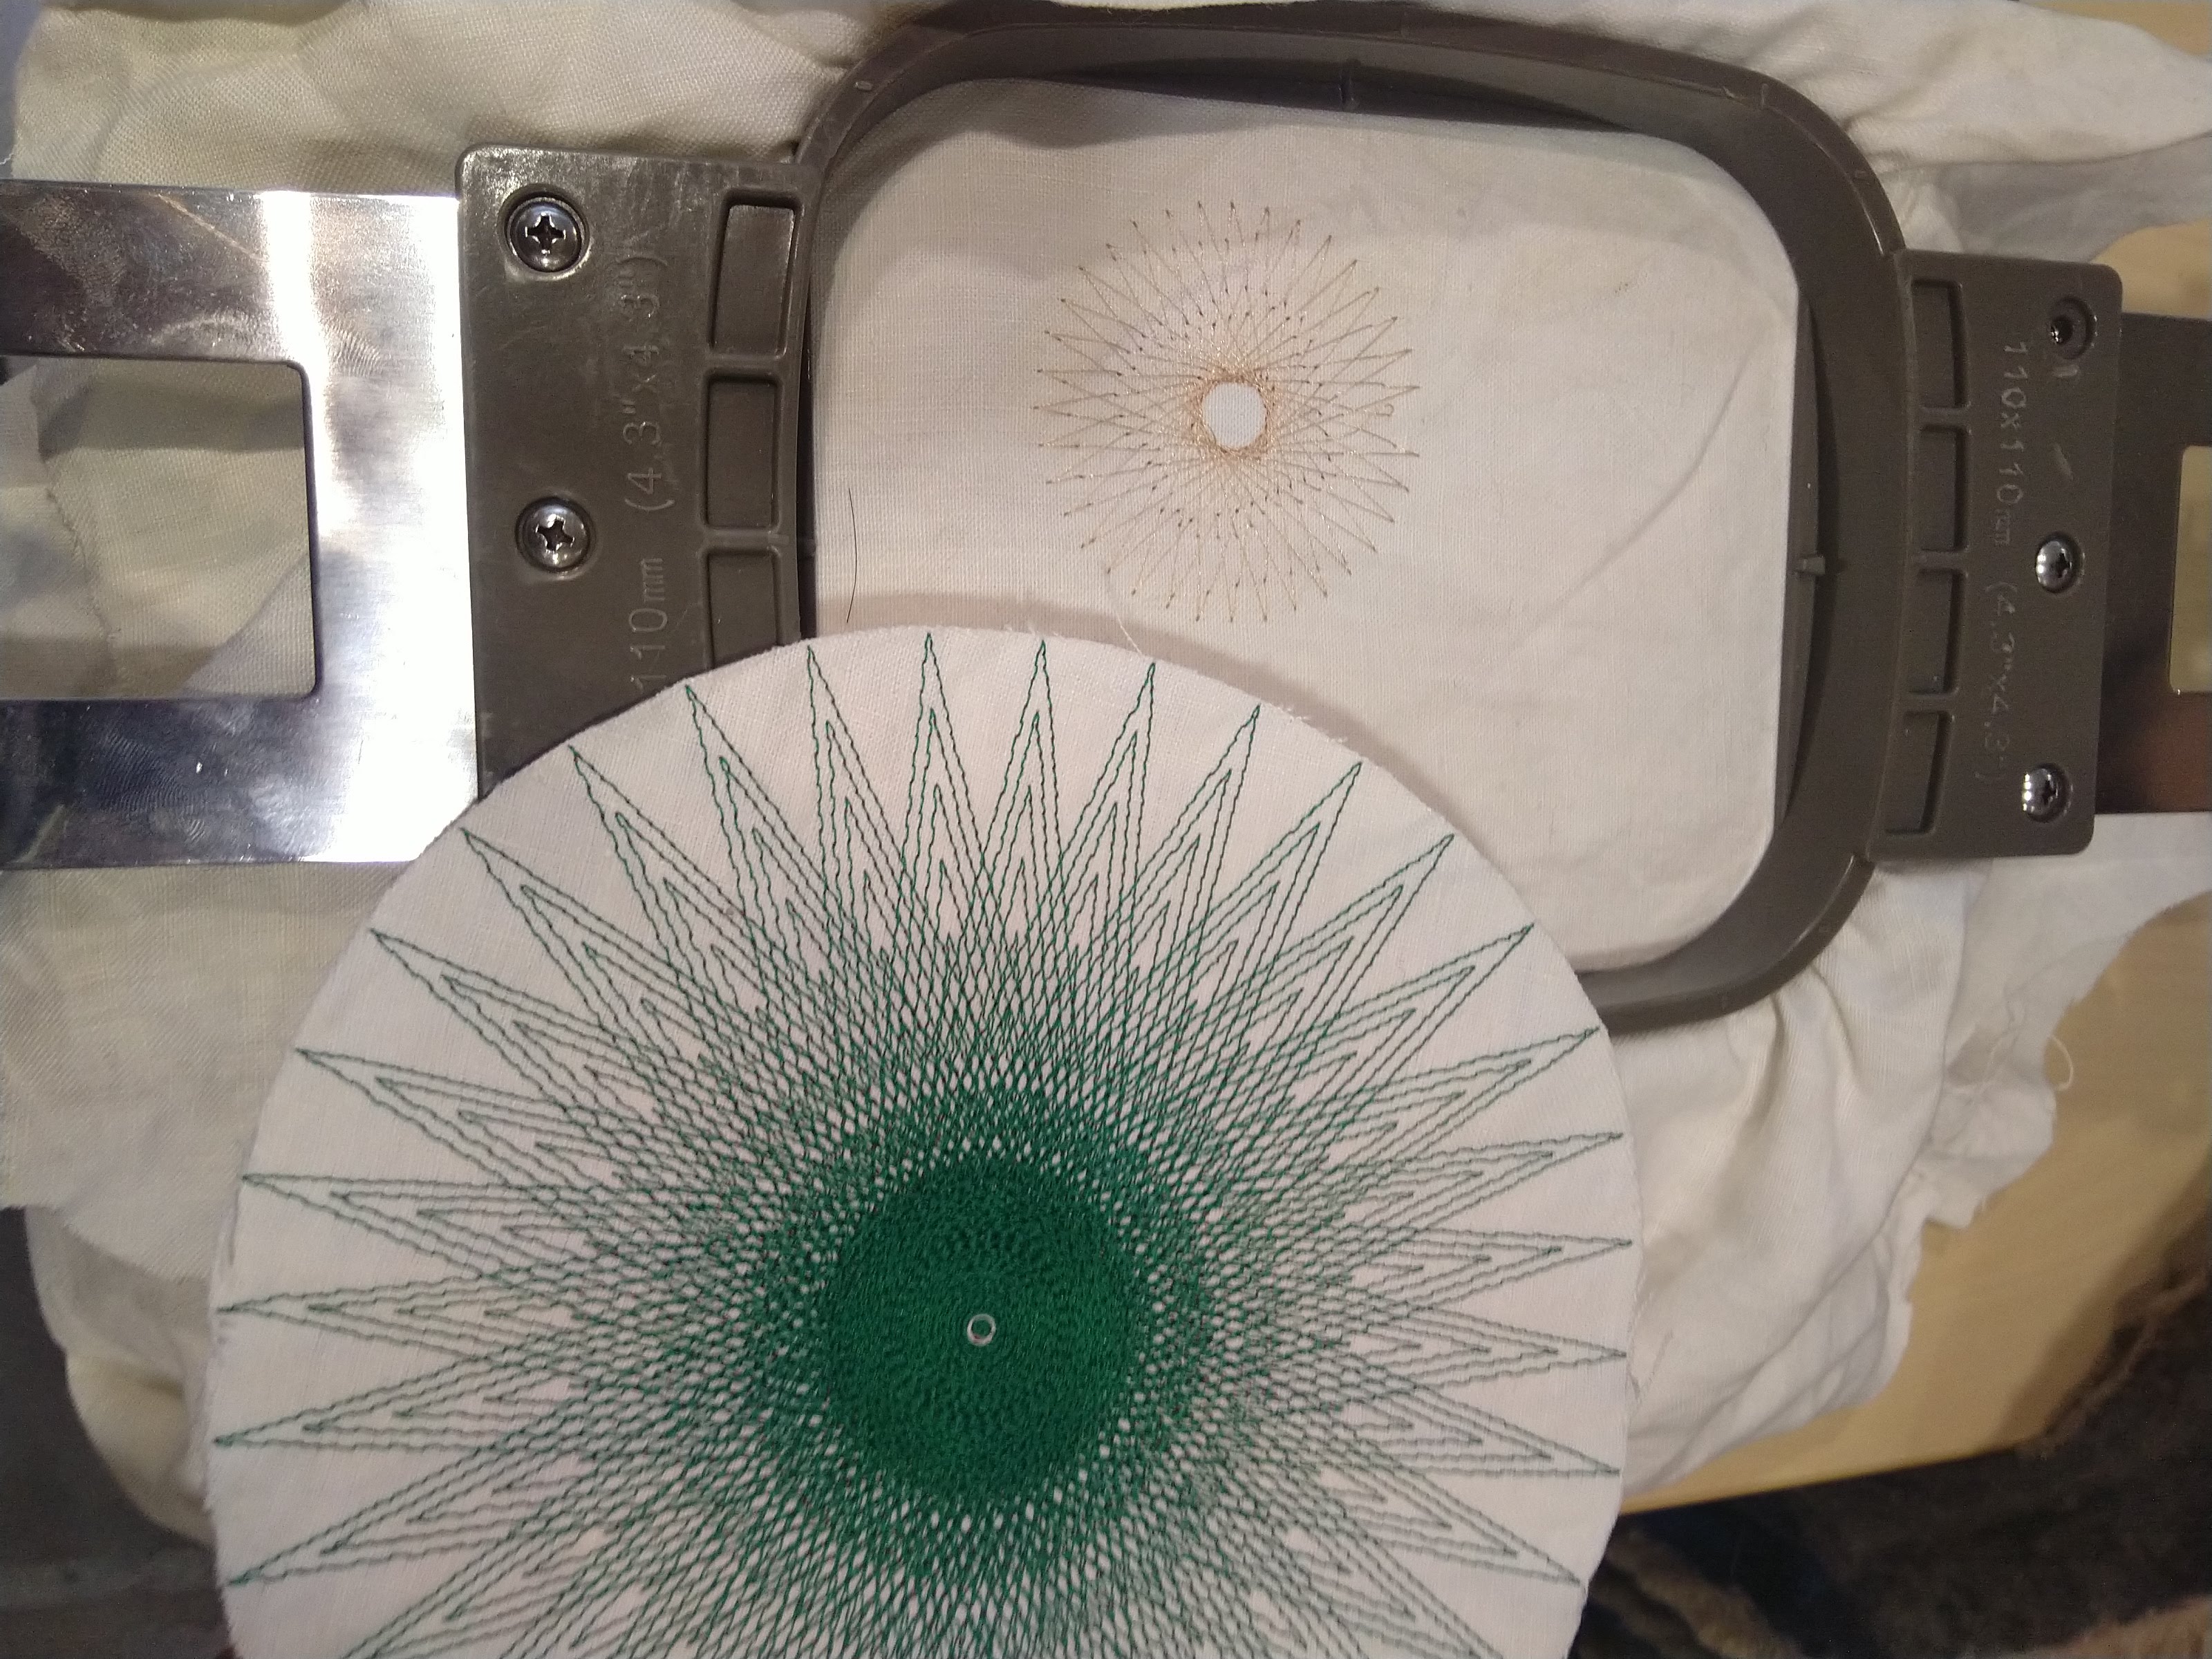
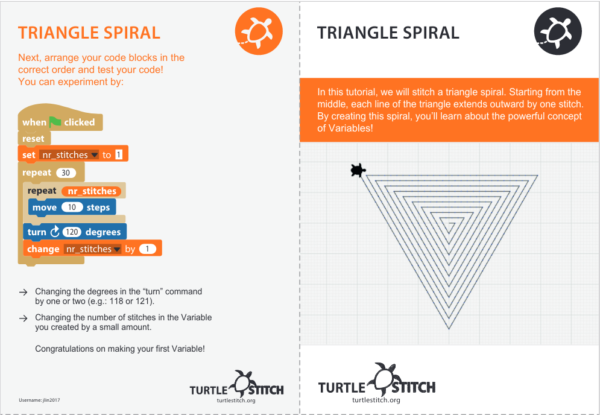 ↑↑↑ With very simple code, we can start to draw complex shapes
- (Variables) Make a variable → Create a variable with the name of your choice. This cariable will be displayed in the “Variables” tab and you will be able to drag&drop it on the workspace in order to use it.
- (Variables) set [ ] to [ ] → Change the value of your variable
- (Variables) change [ ] by [ ] → Increment the value of your variable
- (Variable) Make a block → Allows you to save a whole block of instructions in a new command. This allows to re-use a set of commands several times without filling the workspace too much. This is the equivalent of a “function” in programming.
- (Contrôle) repeat [ ] → Repeats [ ] times the commands located inside the “repeat” block
- (Operators) pick random [ ] to [ ] → Picks a random number between [ ] and [ ]
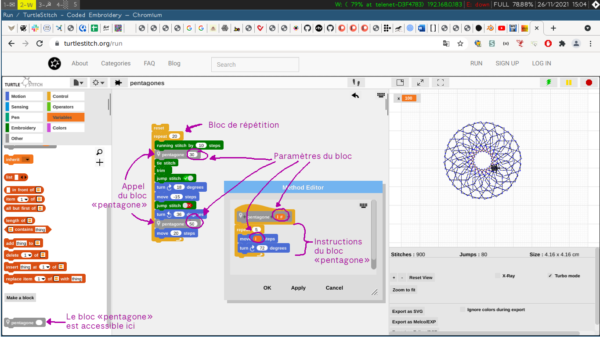 ↑↑↑ Example of the creation of a new command
Embroider
Once you are done with your file, you can export it to an embroidery file format according to your machine. Save the file to a USB stick and use it with your embroidery machine.
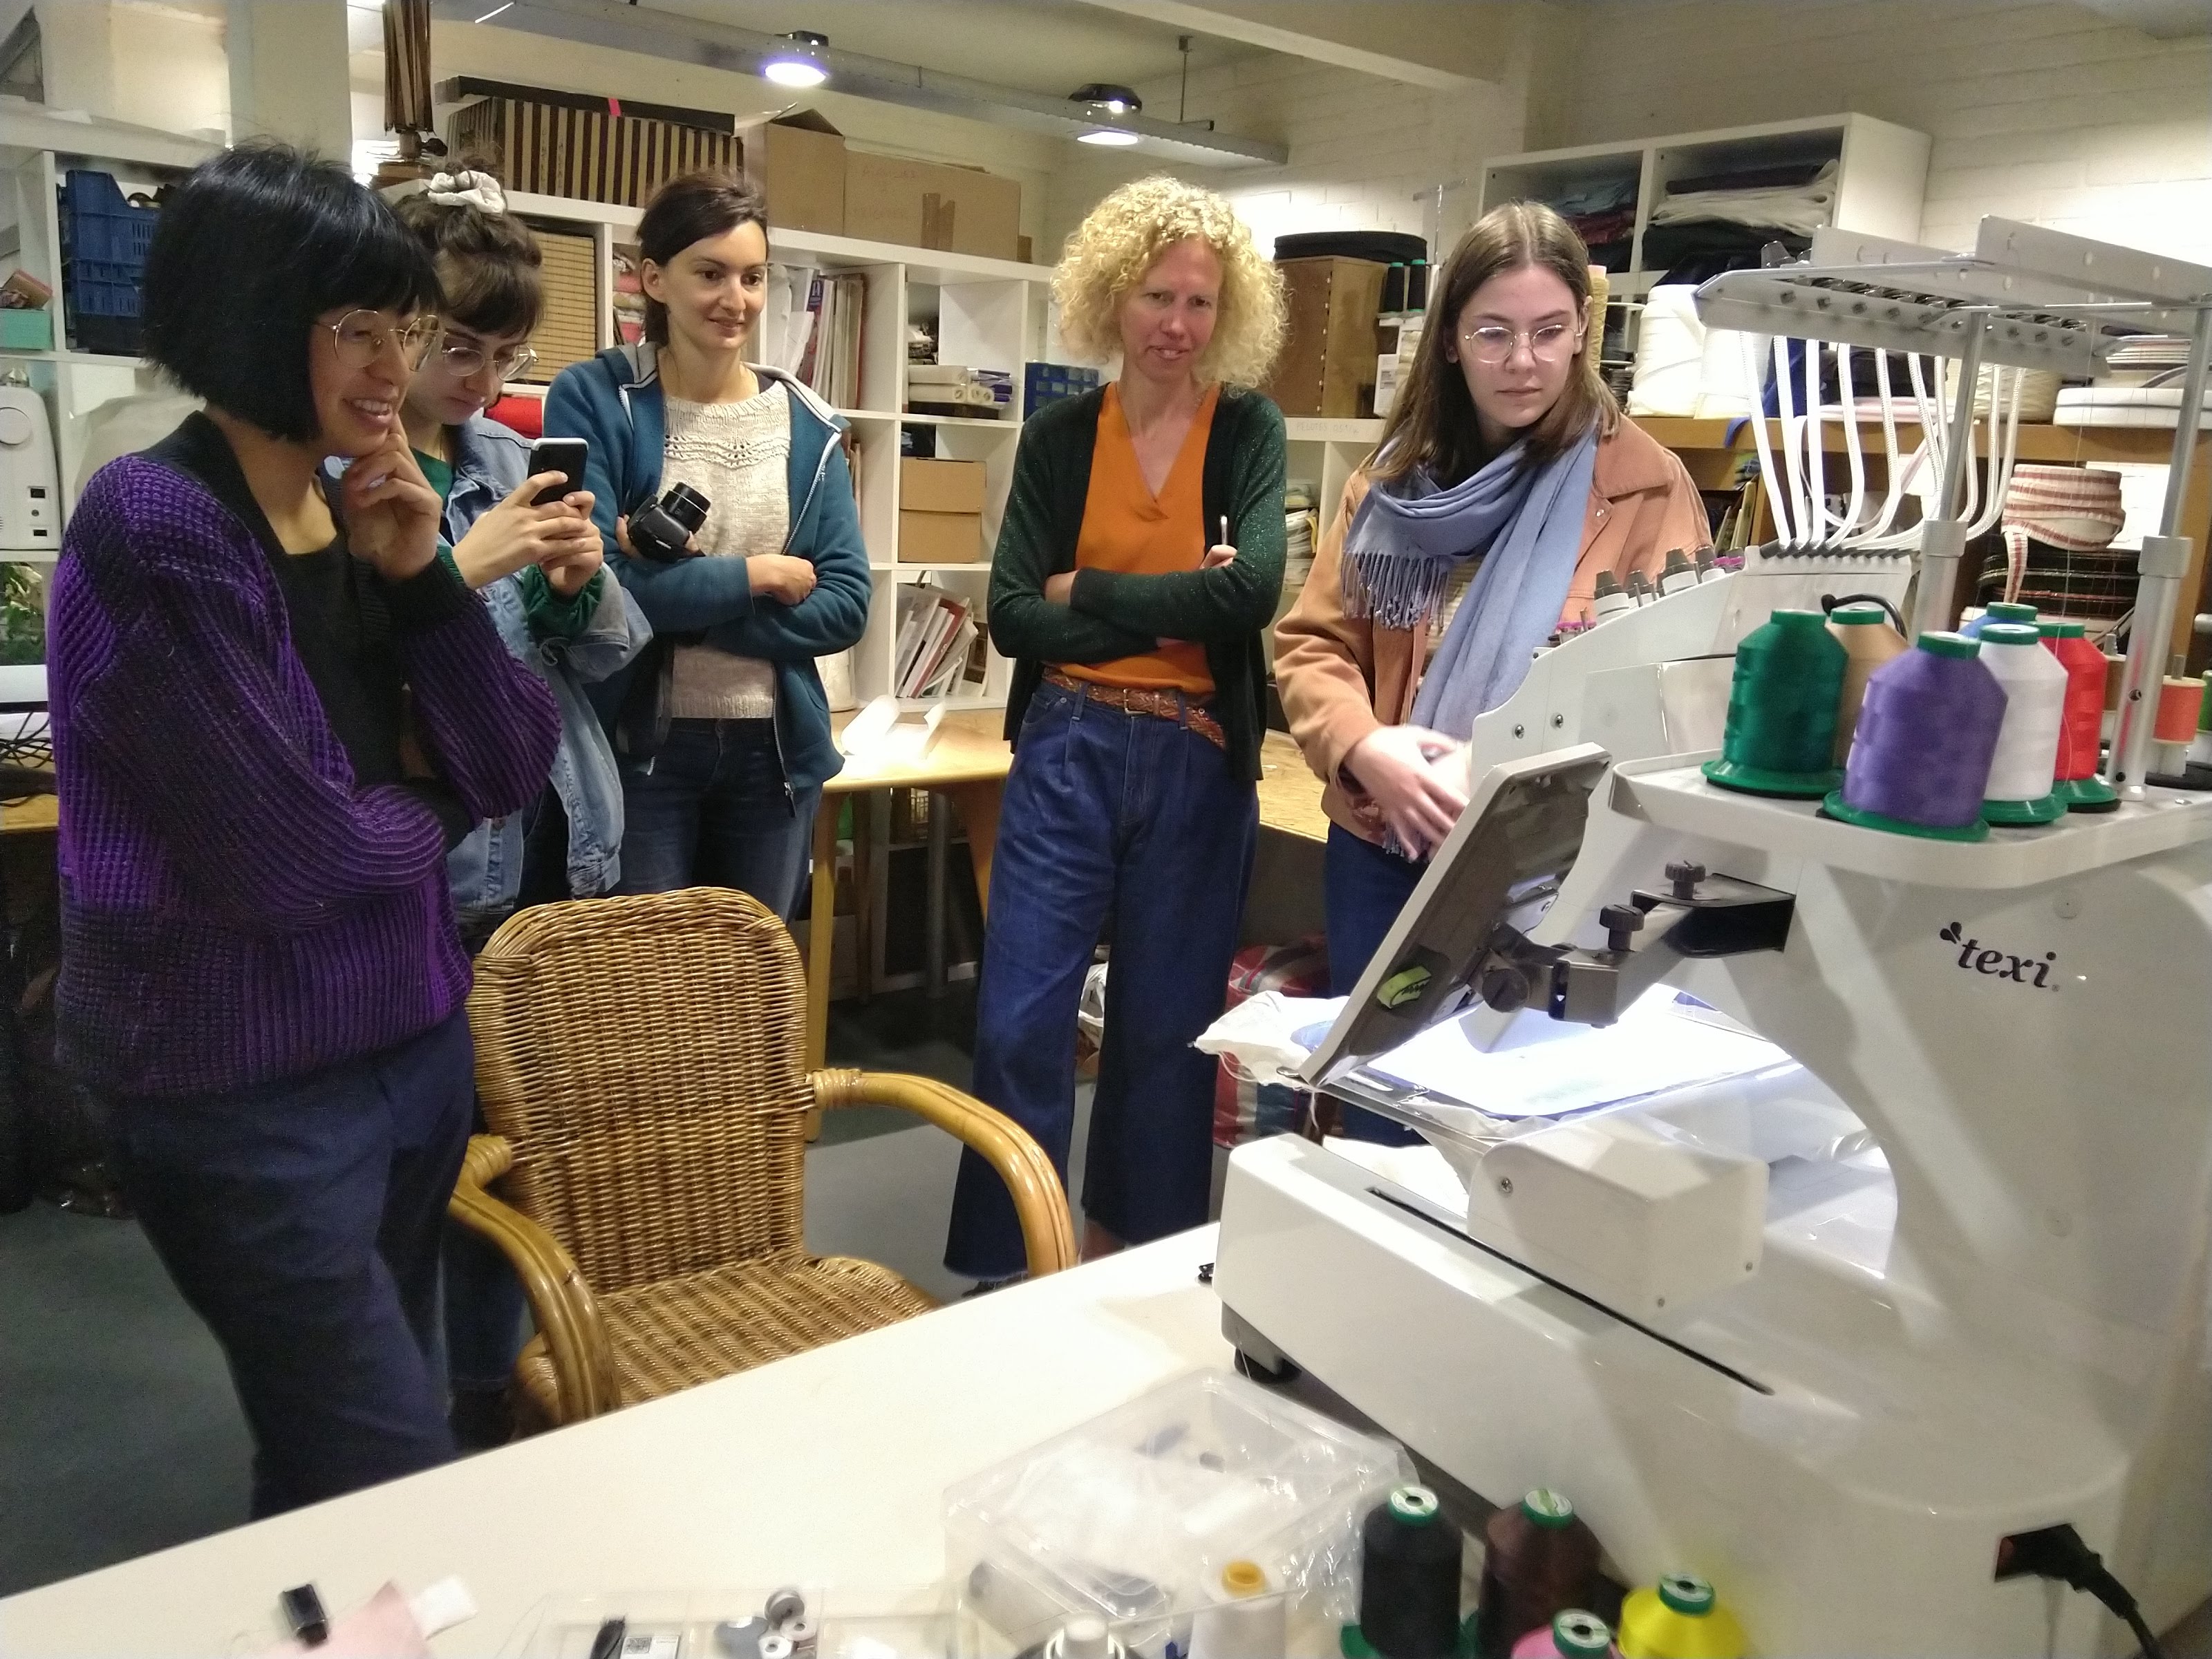
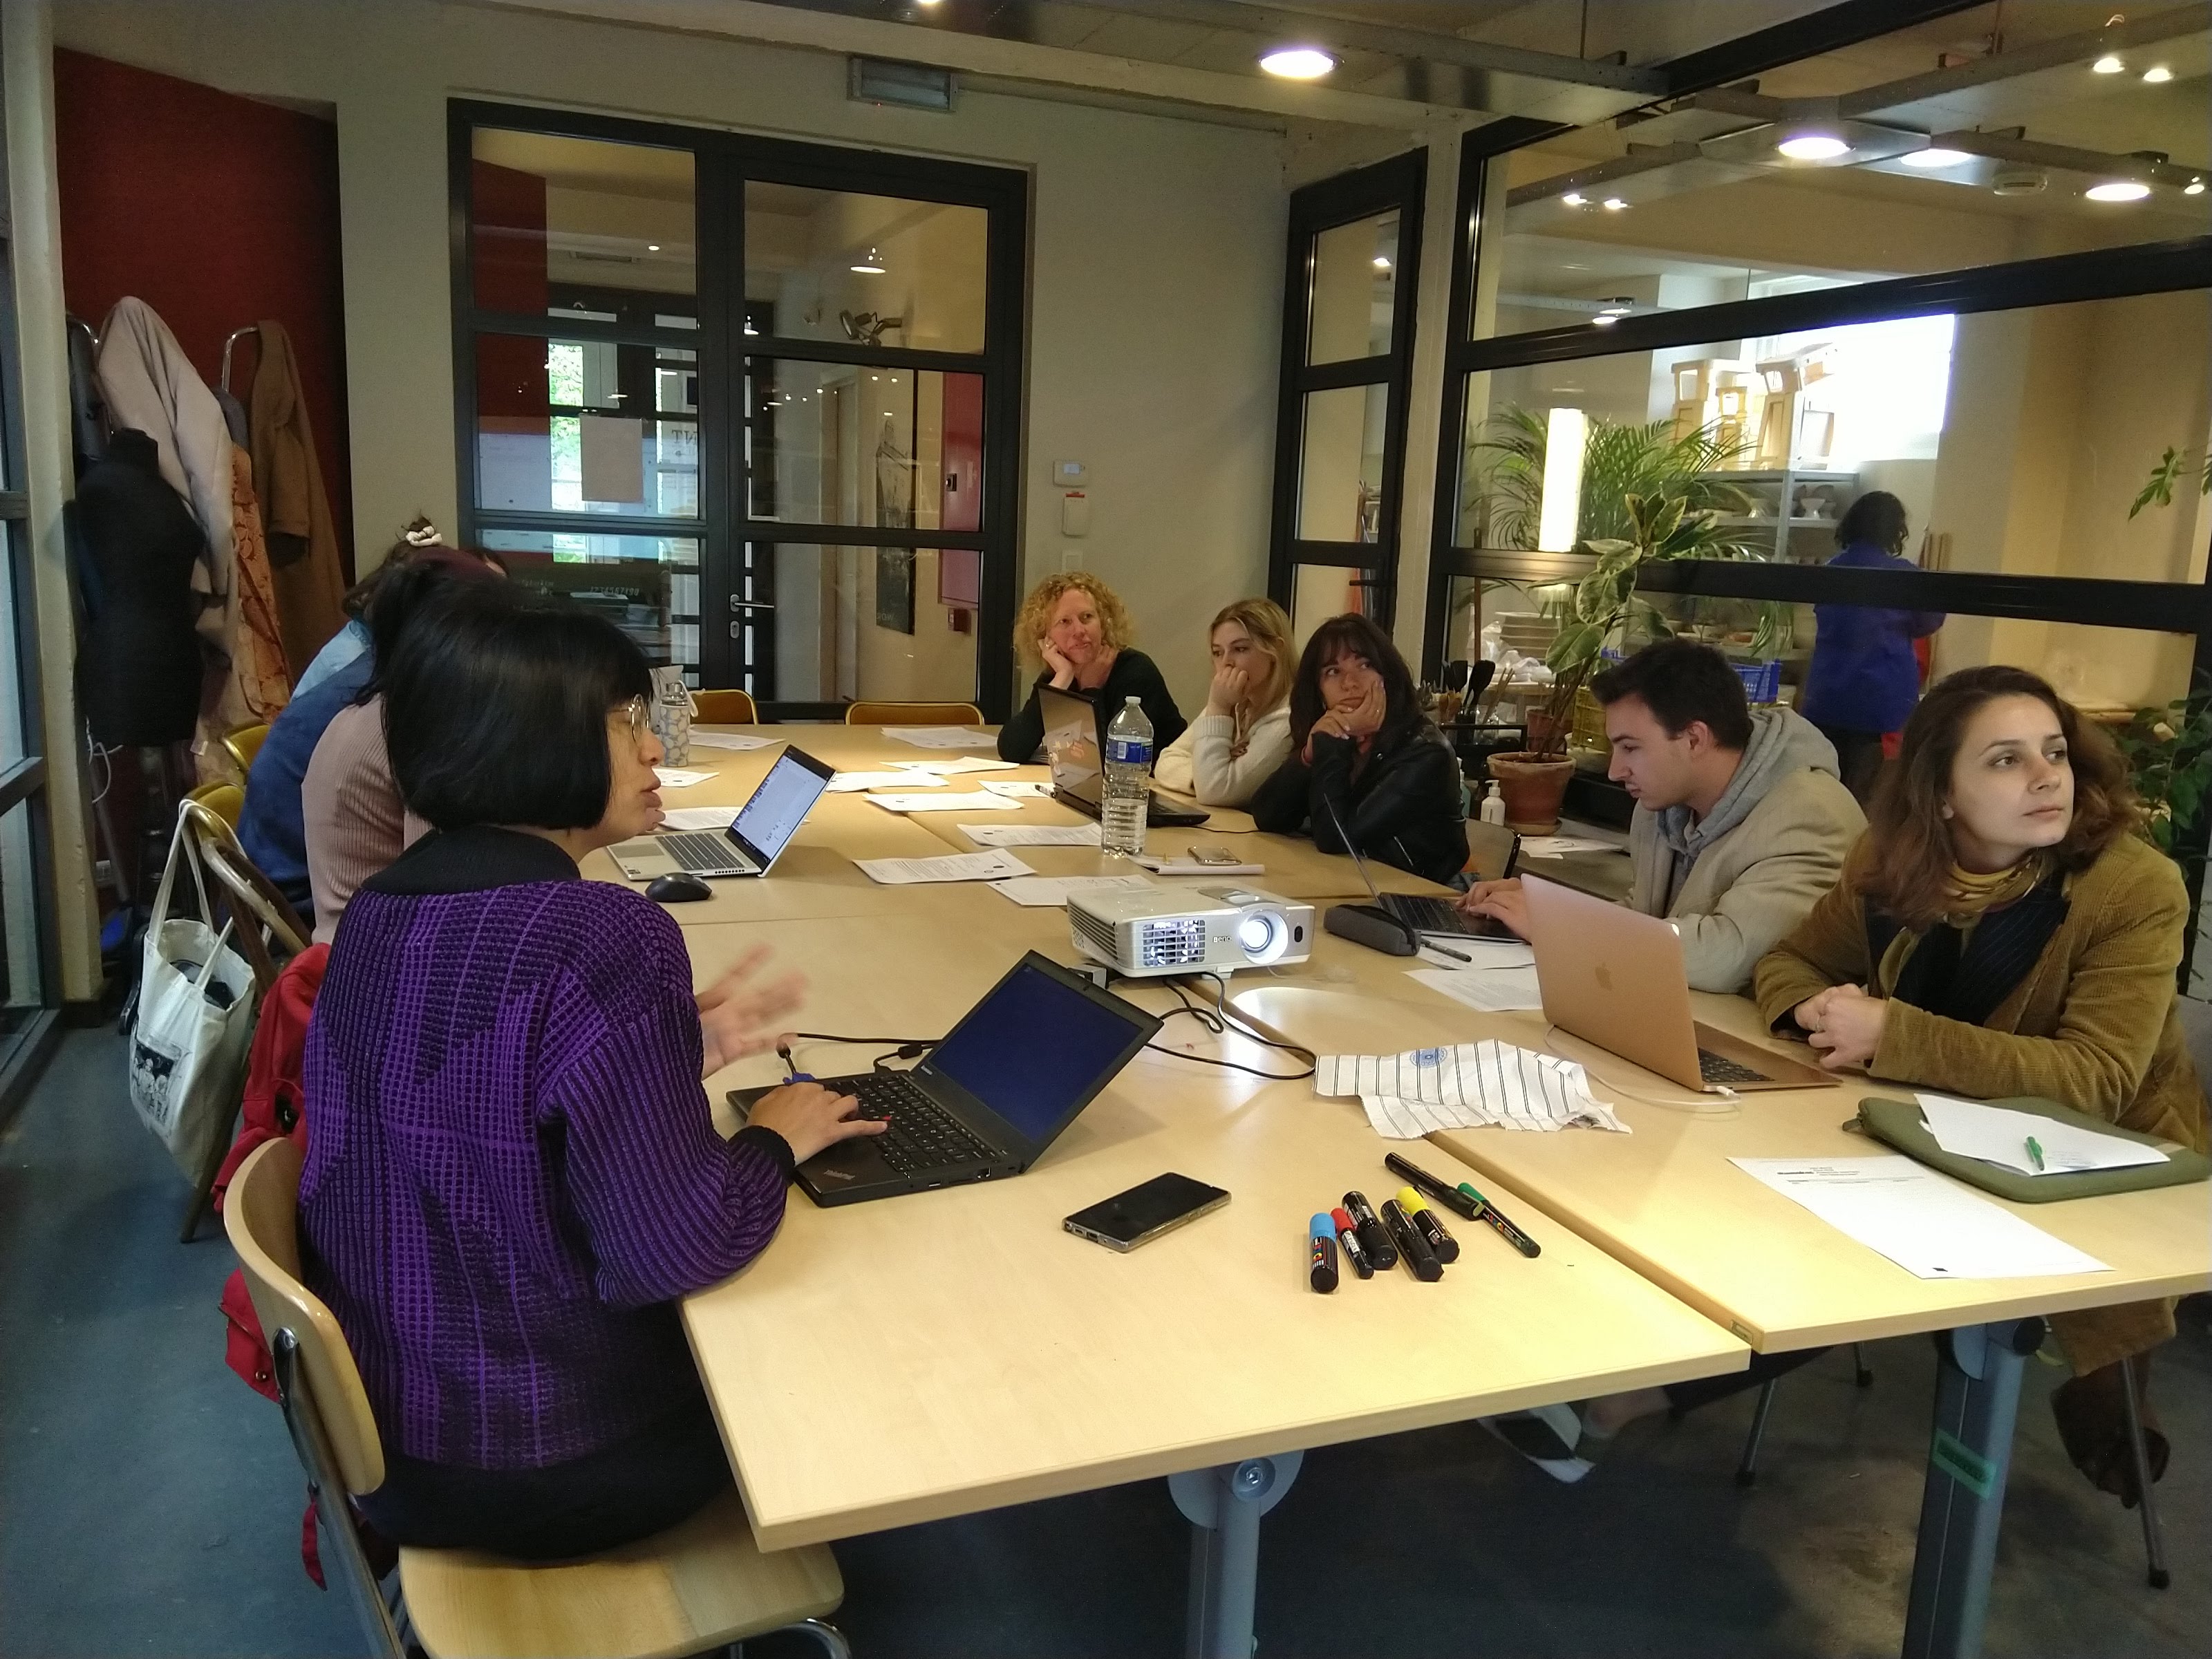
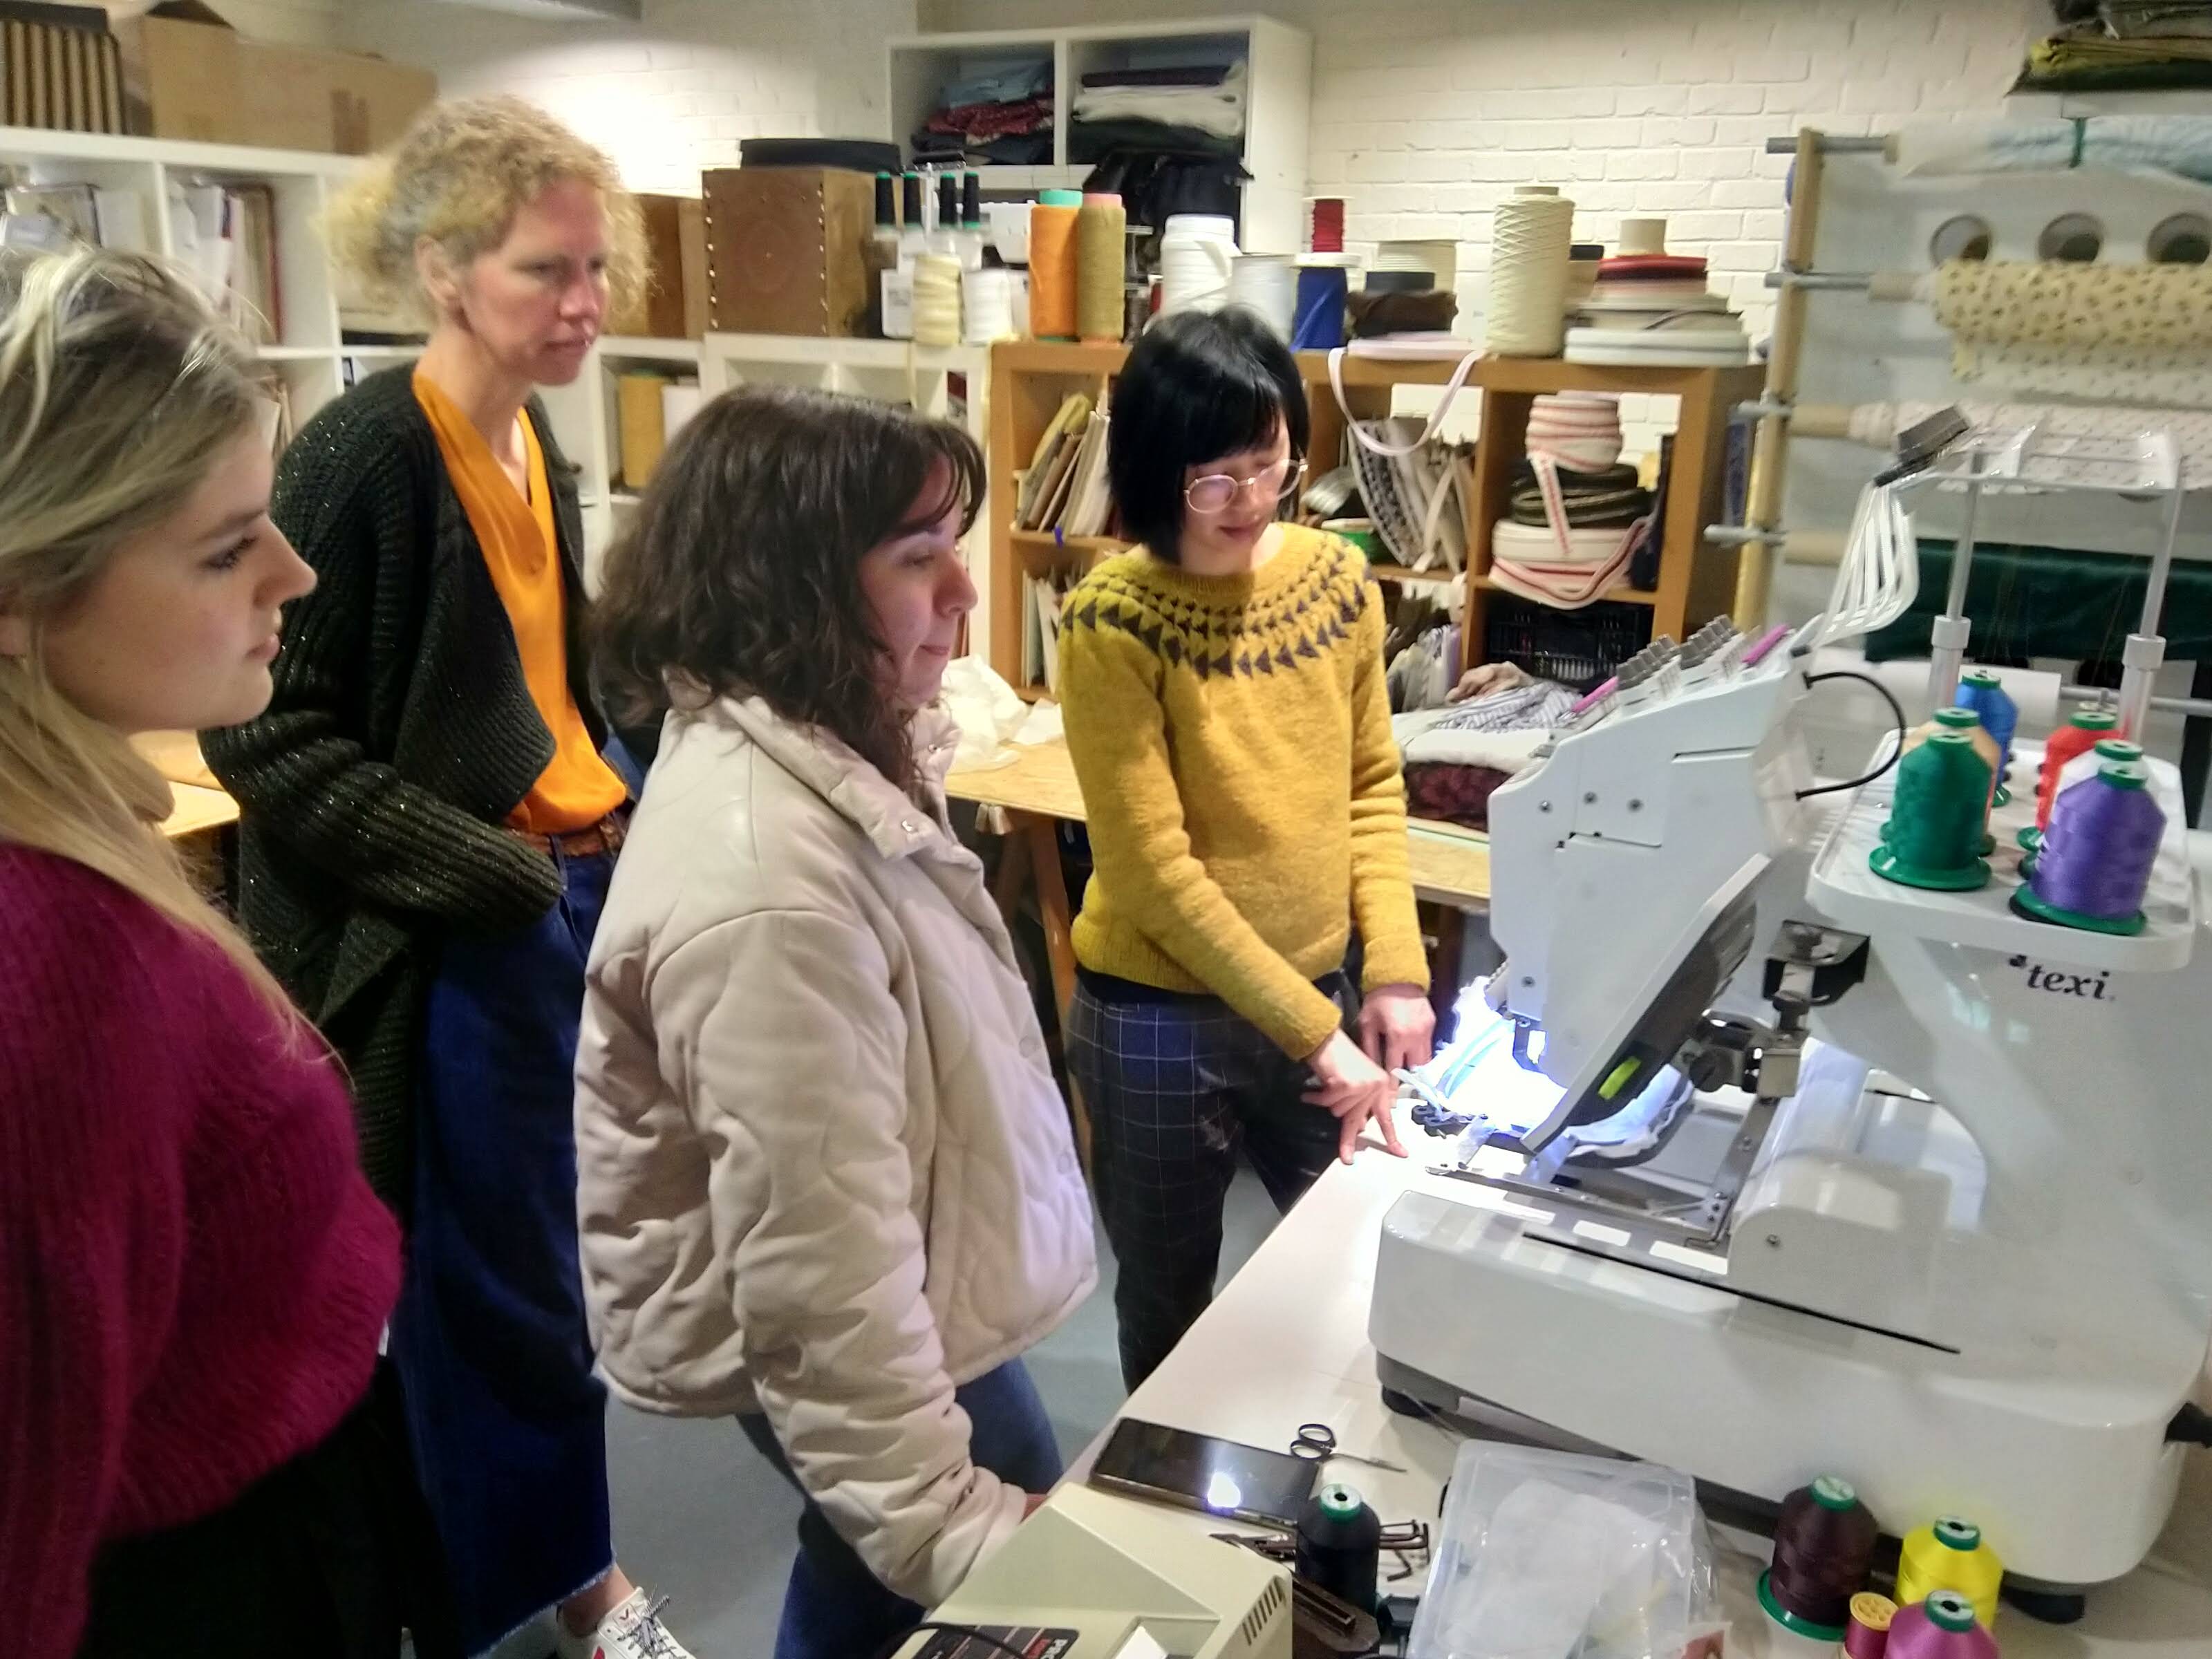
Photos of the event
Licence and credits

Attribution — ShareAlike CC BY-SA This activity has been designed by Diane Wakim with the help of Green Fabric for shemakes.eu. It is based on Fabricademy´s learning content of Computational couture and 3d printing and Iaac Fab Lab Barcelona´s learning experiences methodology.