E-Slippers
| Path | Target | Duration | Skills |
|---|---|---|---|
| Curiosity | Kids 8 to 18 | 1,5 h | Electronics, Sewing, 2D Digital Fabrication |
Introduction and context
Abstract
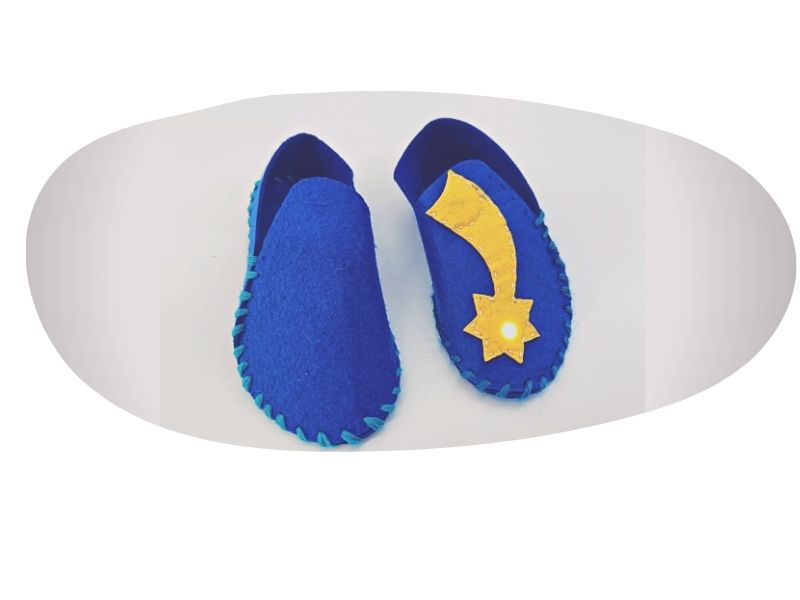
To make your E- slippers you first need to make the slippers and then decorate them with electronics and felt applications. This activity requires some concentration. you'll have to alternate some of the steps to make it all work.
Learning through play is one of the methodologies used in kids' learning, where children invent and share their own games and DIY toys based on age, likes and interests. With Learning Through play, children can develop social and cognitive skills, mature emotionally, and gain the self-confidence required to engage in new experiences and environments (Wikipedia, 2021) Learning through making is another core methodology in the Fab Lab and makerspace environment. Martinez (2014) emphasizes that “Learning through making, both at schools and afterschool activities is contributing to the creation of a safe environment for kids to play, discover, tinker, experiment, activate their creativity and develop their fine motor skills”.
Intro
For an initial level, this activity can be developed in a “step by step” format where a kit of materials is provided to each participant with a pre-cut slipper in the size of the participant. With older participants you can include the time to cut the slippers with each of them.
The duration of this complete activity (electronic circuit + sewing the slippers) is 3h including a short introduction to electronics concepts. It can also be done in two parts so it won't be such a long activity.
For a more advanced level, where children have knowledge of digital design, the fabrication of customized applications to sew in the circuit, can be considered, for which the use of a laser cutter is also required. ( this will make the activity even longer)
The ideal number for each group is 6-8 kids. One instructor is needed for each group.
Objectives
The activity aims at introducing participants to sewing circuits and the possibility to make your own slippers. In other words, alert children to non-consumerism. The purpose of the learning activity is to generate an added value to textile projects
Learning Outcomes: - Realize the potential of the laser cutter - The possibility of making a wearable from scratch - The possibility of customizing an object - Raising children's awareness of non-consumerism. - Learning different ways of sewing
Target audience and context of use
Kids, families, educators with interest in learning electrical concepts with simple materials just to learn or to apply this knowledge in the classroom in a ludic way.
This activity can be celebrated in different places like museums and schools. Set up a collaboration between your lab, material centers and a cultural center or museum.
The booklets can be printed and given to the participants with the kit of materials
Tips: set up an eventbrite for registration and communicate via your channels. The registration form must include the size number of each participant's shoes.
Recommended number of attendees (6-8) per group and instructor
Preparation and materials
Dive into the slides presentation provided here, to create the slippers. Prepare the kits of materials for each participant and also prepare the instructor’s slippers to show it to the participants.
Create your team of facilitators and organize some testing sessions and brief meetings for coordinating with facilitators.
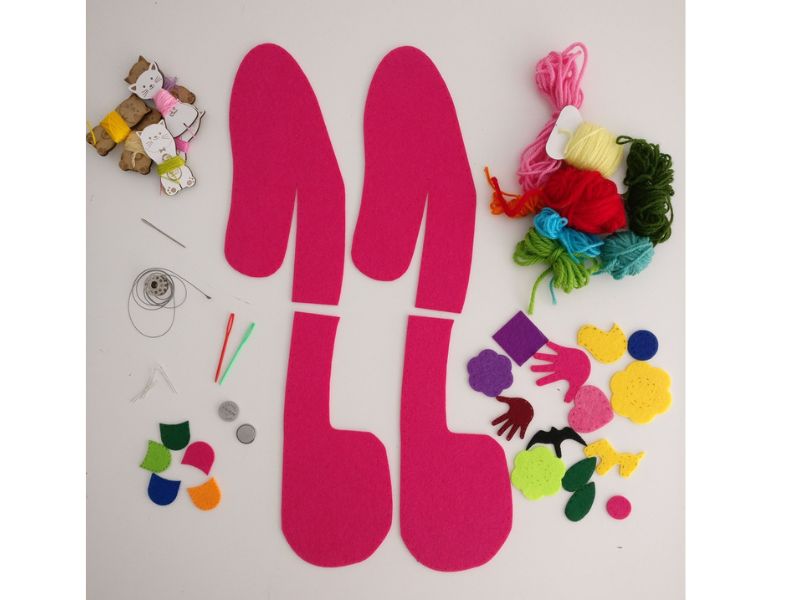
Kit of materials for participants
Be careful. Check you have all the tools and materials needed and that you will have time to wrap up your tools, set up the logistics for the event room.
Prepare in advance:
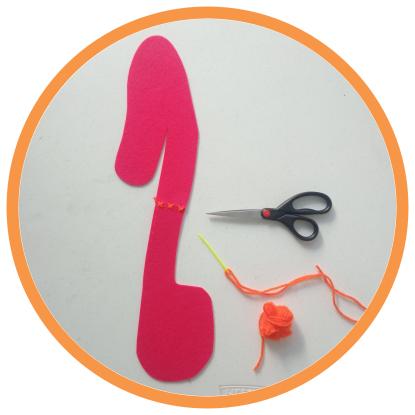
- Precut slippers in the size of the participant
- Kit of electrical components (Battery, LED, conductive thread, felt battery holder)
- Sewing kit (needle, scissors, decoration pieces and thread)
Equipment, Tools and Materials
- 10 tables and chairs
- 1 TV to present the documentation
- Instructions (Power Point or google slides presentation)
- Lasercutter
- Needles
- Scissors
- Led’s
- 3v battery 2032
- Conductive thread
- Wool
- Felt size mould of the slippers
- Decoration pieces of felt
- Felt battery holder
- Cotton thread
Step by Step Instructions
STEP BY STEP overview
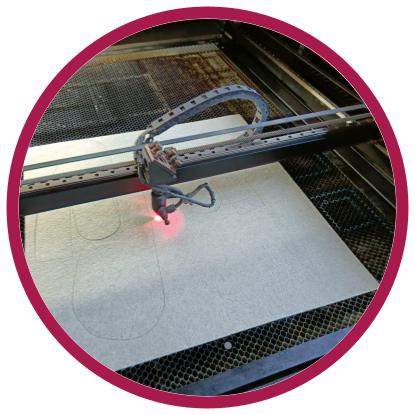
- Cut the slippers template in the desired size on the laser cutter
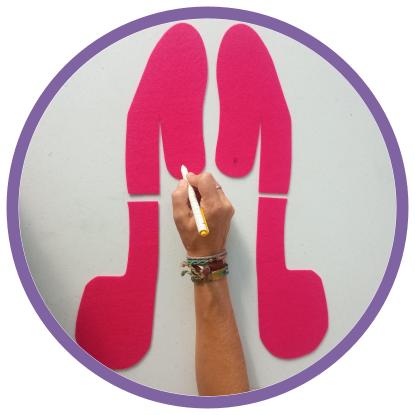
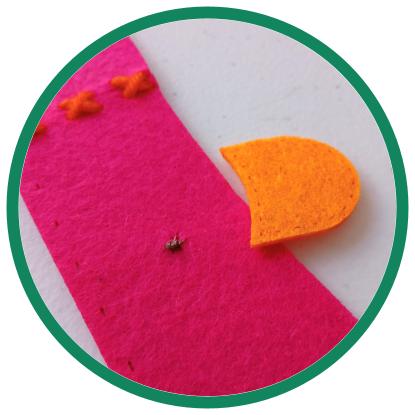
- Position the different parts
- Decide (with a small mark) which will be the left and right foot
- Sew the heels together with the chosen wool.
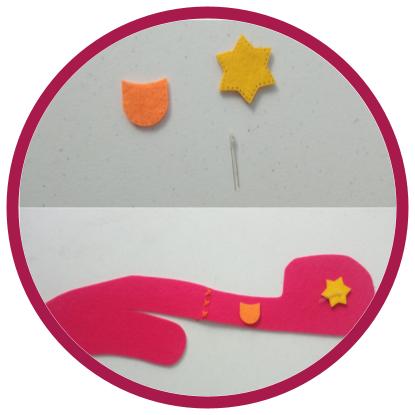
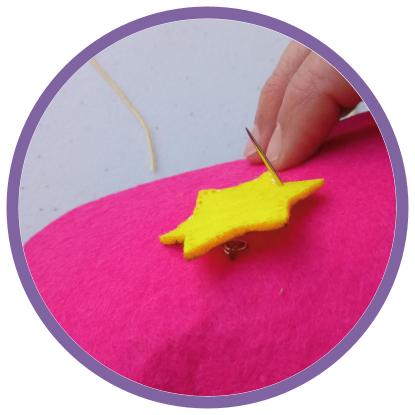
- Decide where to place the battery holder, the LEDs and the decorations
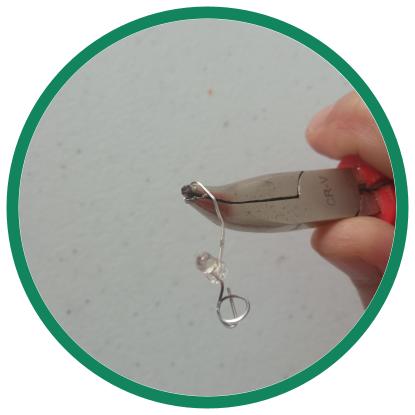
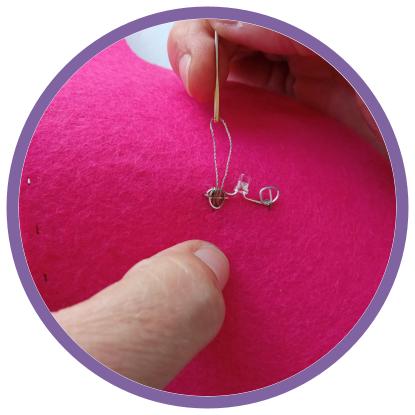
- Roll up the legs of the led with small pliers.
- Sew the (-) leg of the led with conductive thread
- sew to the place where you want to place the battery.
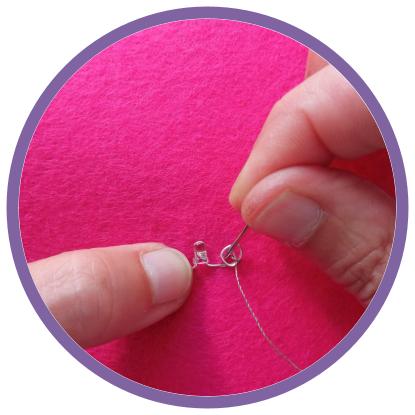
- Make a small stitch with the thread and finish.
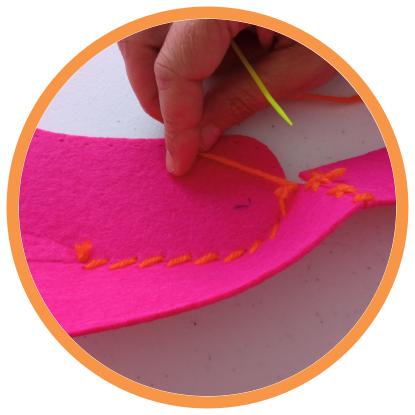
- Sew the leg (+) of the led, with conductive thread
- sew the path to the battery up to where you want to put the battery but ending on the inside of the battery holder.
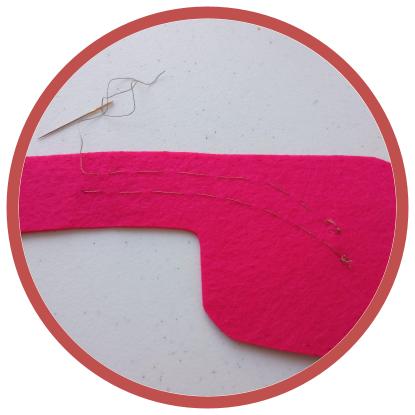
- cross the line to the right-hand side.

- on the inside of the battery holder make a small stitch with the thread and finish
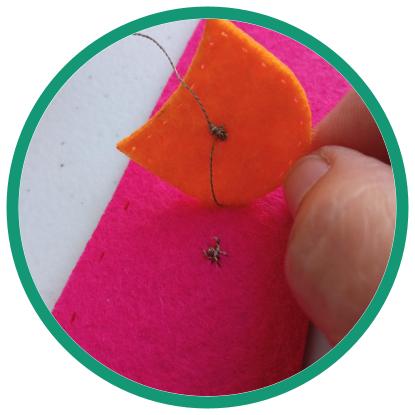
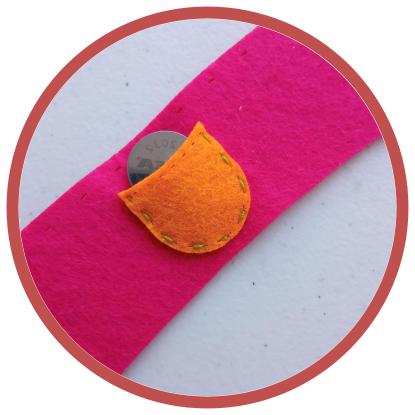
- Sew the battery holder in place.
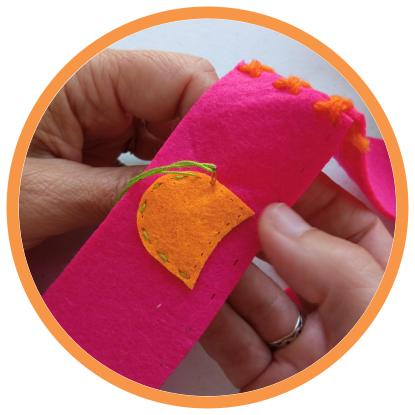
- Sew the chosen applications
- Connect the battery with the plus (+) symbol face up and verify if everything is working
Safety rules & Tips
- Needles should have round point
- Make a mark in in the slippers to know which is the right foot
- Textile conductive thread is much better than copper tape
- For the younger girls and short time it is better to pre cut the pieces of conductive thread
Presentation for the class
Flyer for participants
Downloadables
| Presentation | Brochure | Design |
|---|---|---|
| Presentation | Brochure | Design |
Tips to facilitate the activity in context (to-do / not do)
To do:
- Explain the outcome of the workshop at the begining of the workshop
- Give kids the opportunity of applying their creativity offering different coloured felt
- Prepare made examples for the different steps to show to the kids
Not to do:
- Work in a hurry
- Deliver the material in a disorderly way
Estimated cost
You might plan some costs for getting the materials and tools but also some fees linked to your collaboration with the place you run the workshop. In our case, we made the activity in our own space.
This is the BOM (Bill Of Materials) but, always consider to find local providers.
| Quantity | Description | Link to vendor |
|---|---|---|
| 1 | 5mm LED | MAUSER |
| 1 | 3V Battery CR2032 | IKEA |
| 1 | Needle (for yarn crochet) | AMAZON |
| 1m | Yarn for crochet | AMAZON |
| 1 | Set of Scissors for kids (left & right handed) | AMAZON |
| 1 | Felt sheet color 1 500x500mm | TECIDOS |
| 1 | Felt sheet color 2 500x500mm | TECIDOS |
| 1 | Conductive thread | BOTNROLL |
Licence and credits

Attribution — ShareAlike CC BY-SA This activity has been designed by Alexandra Baltazar for shemakes.eu. It is based on ViVA Lab learning experiences and methodology.
Related and supporting activities/modules
It can be combined with the other topics within the Wearable Technology Package of Fabricademy, such as Wearables.