Knitting Machine Hack
Knitting Machine Hack
| Path | Target | Duration | Skills |
|---|---|---|---|
| Discovery | 18-25 | 1 day | Digital Design, generative patterns, spreadsheet, machine knitting |
Objectives
This workshop aims at introducing beginners to code by using a tangible medium. Using the gender bias of textile to counter balance the gender bias of new technologies.
-
Learning Outcomes:
-
Understand how IT can help the design process
- Produce an [object/prop/pattern] using a spreadsheet to grasp some coding aspects.
- Learn to use a hacked knitting machine
Target audience and contexts of use
Students with an interest in textiles, art school teachers. If participants don't have basic knowledge of machine knitting, casting the stitches on the machine will be made by the facilitators.
To teach this use, one computer per person is required as well as at least one hacked knitting machine.
Recommended number of participants: 6–8
Preparation and materials
Equipment, tools and materials
- hacked knitting machine
- Computers with LibreOffice installed
- Sufficiently spacious tables and chairs
- A screen or projector for the demonstration
- yarn of at least 2 different colors
Introduction and context
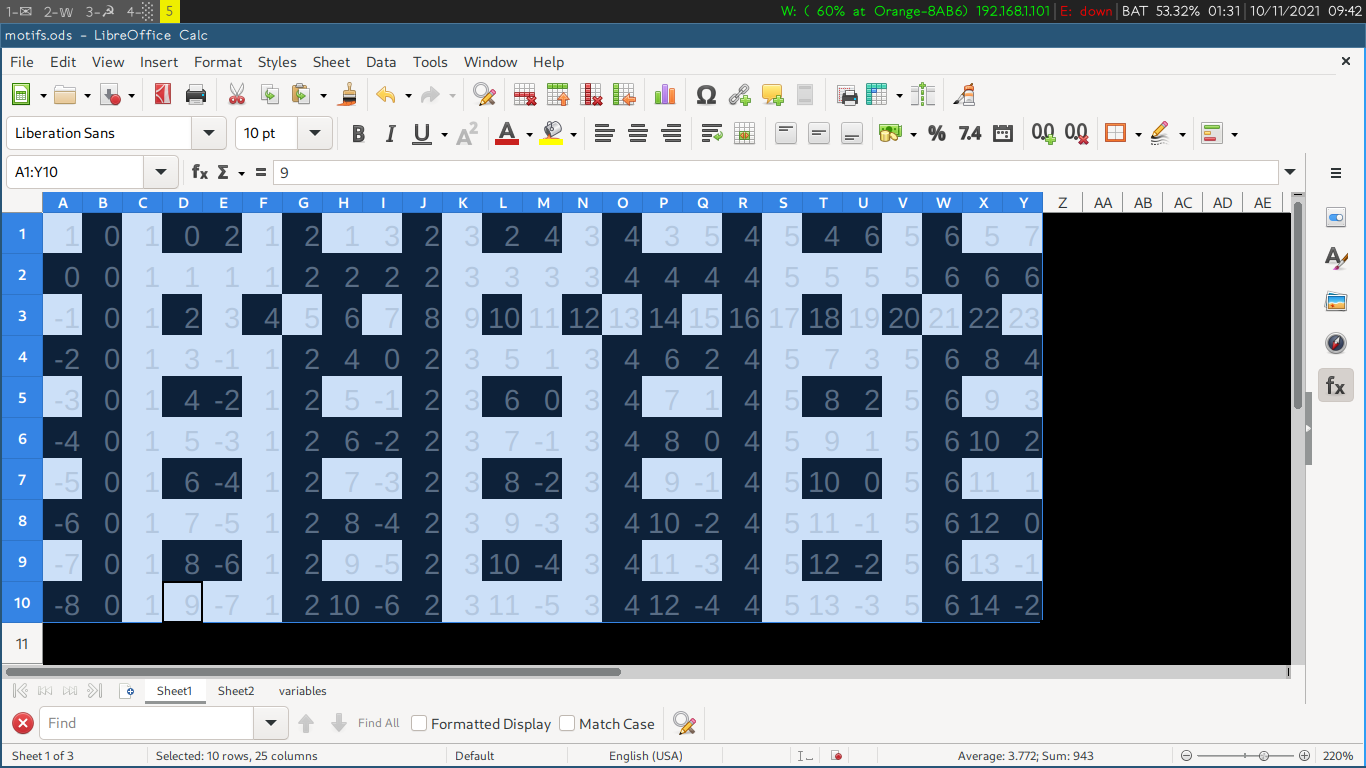
We are using a spreadsheet editor to generate patterns from a sequence of numbers. Odd and even numbers are visualized by black and white pixels/cells. Then a python script is used to transform those numbers into a bitmap image that we can transfer to the knitting machine with the Ayab software.
- One column of the spreadsheet represents one needle of the knitting machine.
- One row of the spreadsheet represents one knitting row (so one pass of the carriage).
Tutorial
!!! Advice: do not forget to save your file regularly as an .odt file !!!
Preparing the spreadsheet to visualize odd/even numbers with colors
- Install LibreOffice, a gratis free/open source spreadsheet software → https://libreoffice.org/
- Create a new Calc document.
- Select all cells by clicking Ctrl+A.
- Right-click on the column names (A, B, C…) → Click on "Column width" → Type "5mm".
- Right-click on the row names (1, 2, 3…) → Click on "Column height" → Type "5mm".
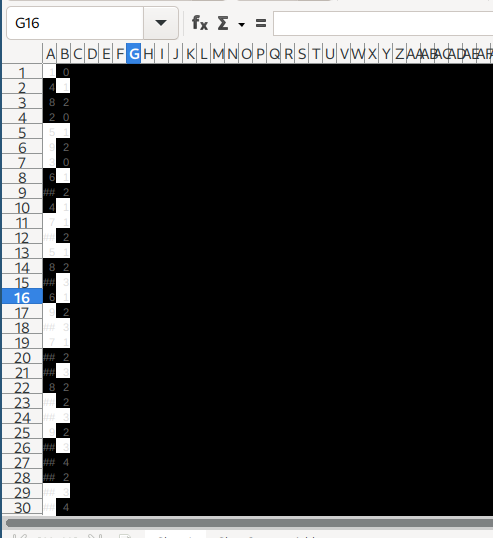
- This step will render white cells for even numbers, black cells for odd numbers.
- Click on "Format/Conditional/Manage"
- Click on "Add"
- In order to check whether a number is even: in "Condition 1", select "Formula" and type next to it:
MOD(A1,2). - Please note that on some versions of LibreOffice, you might need to replace the comma sign
(,)by a semi-colon sign(;). SoMOD(A1,2)would becomeMOD(A1;2). - In the dropdown menu "Apply a style", choose "New style" → Select a black background color → Validate.
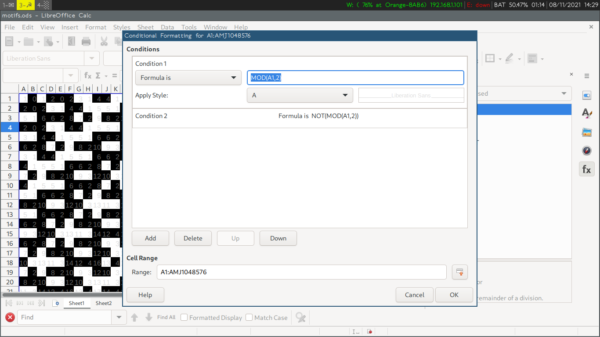 ↑↑↑ Screenshot of conditional formatting window. ↑↑↑
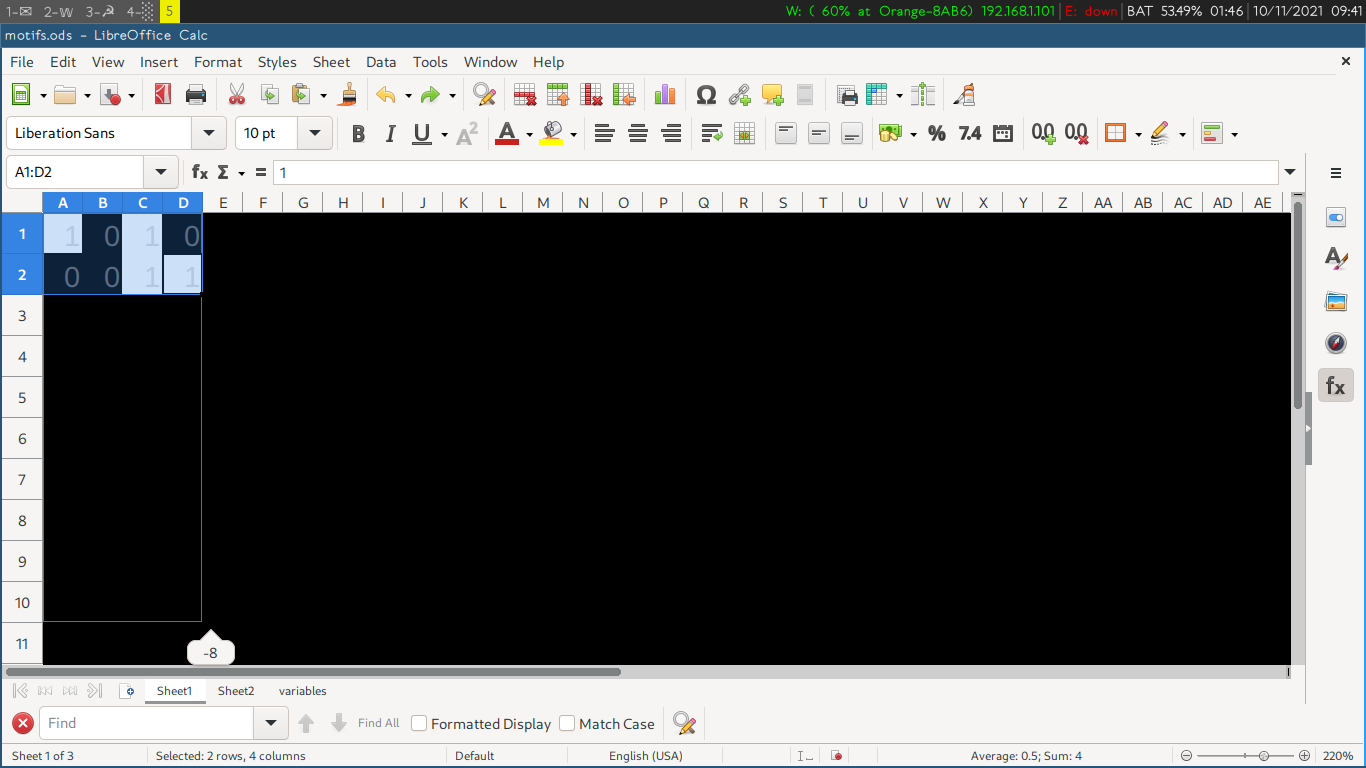
1.A Draw a pattern by hand
Draw by typing in numbers by hand
- Type a
0in the first cellA1. - Select cell
A1. - Copy the cell
A1by clicking on Ctrl+C. - Select all the cells needed to cover the desired working area.
- Click on "Edit/Paste Special/Paste Transposed".
- All selected cells should be filled with zeroes. This is important as if there are no numbers in the white cells, the conversion script that we will use later won't work.
- Select the cell you want to paint black.
- Type a
1in it. The cell should turn black. - Repeat "Step 2" to paint all desired cells in black.
- If you want to transform a black cell into a white cell, type a
0in the cell.
- Once you've made your pattern
- Select the cells of your pattern
- Drag&drop the bottom-right corner to the right to extend your pattern to the right, or below to extend your pattern to the bottom.
 : Step 4
 : Step 4
 : Step 4
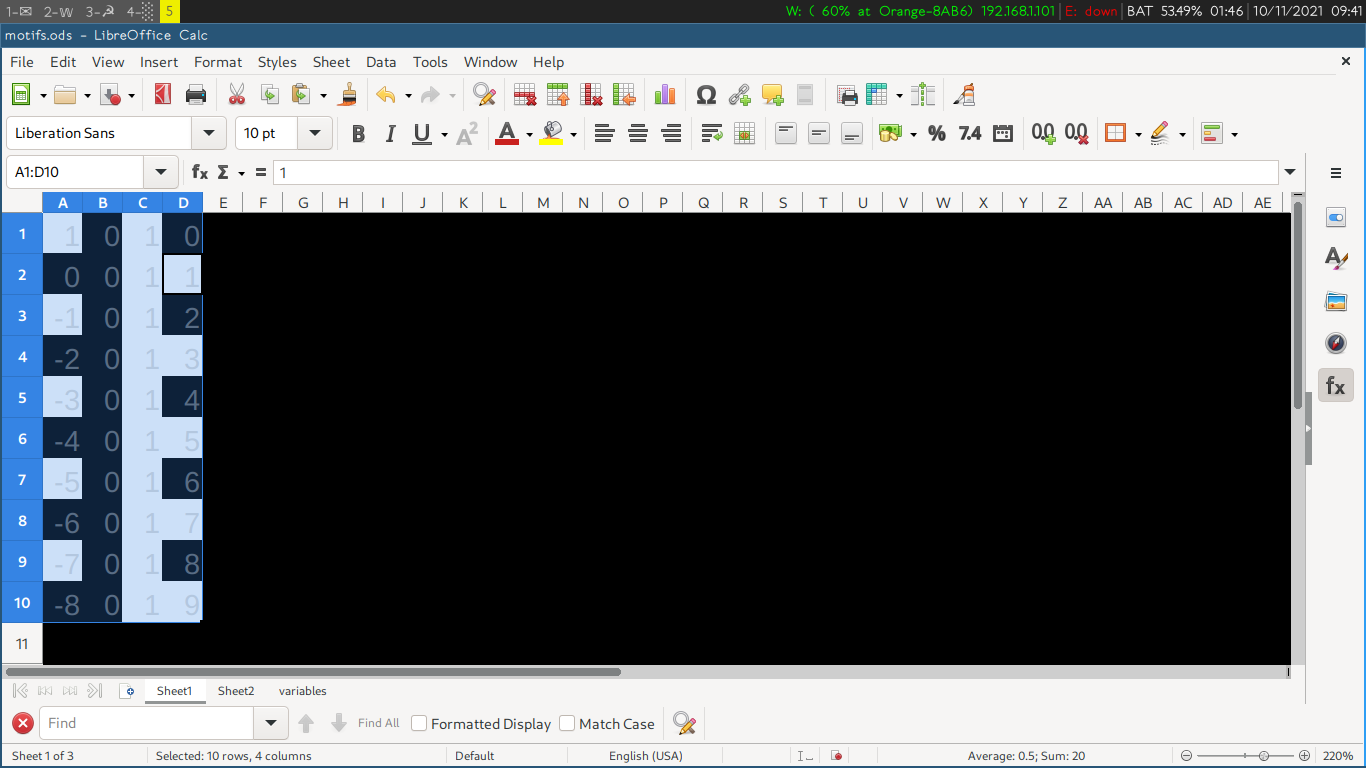
1.B Generate a pattern with formulas
Pattern Generation
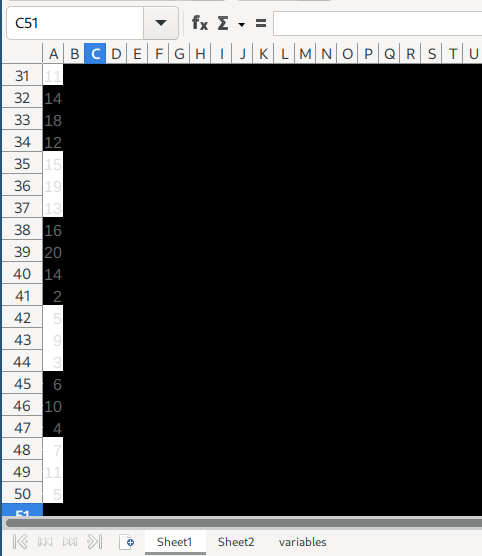
- Create a new sheet at the bottom and call it "Variables".
- In the first column, fill some cells with some numbers of your choice.
- Select the filled cells and drag&drop the bottom-right corner of the selection down to row 50 (or whatever number of rows you want to knit).
- The software attempts to guess some logics to the number sequence you input.
- Note: On this sheet, the cells stay white. It's normal as the conditional formatting is only applied on the first sheet. Otherwise, we would have to repeat those steps for this sheet…
- Go back to the first sheet.
- Select cell
A1. - Type in this cell:
=$Variables.$A1 - Make sure that the spelling and lettercase match the name of your second sheet "Variables".
- Drag&drop the bottom-right corner of cell
A1down to row 50. The cells will fill with the same numbers as on the "Variables" sheet.
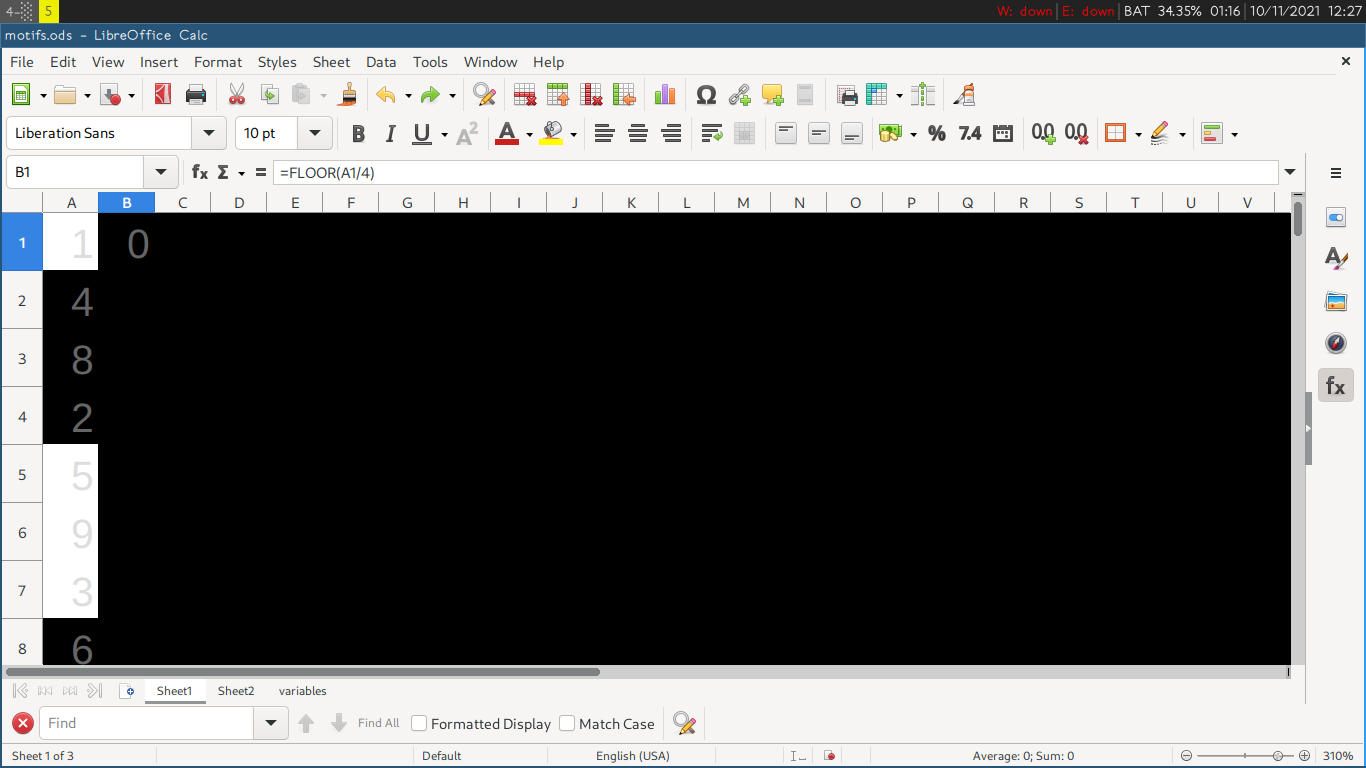
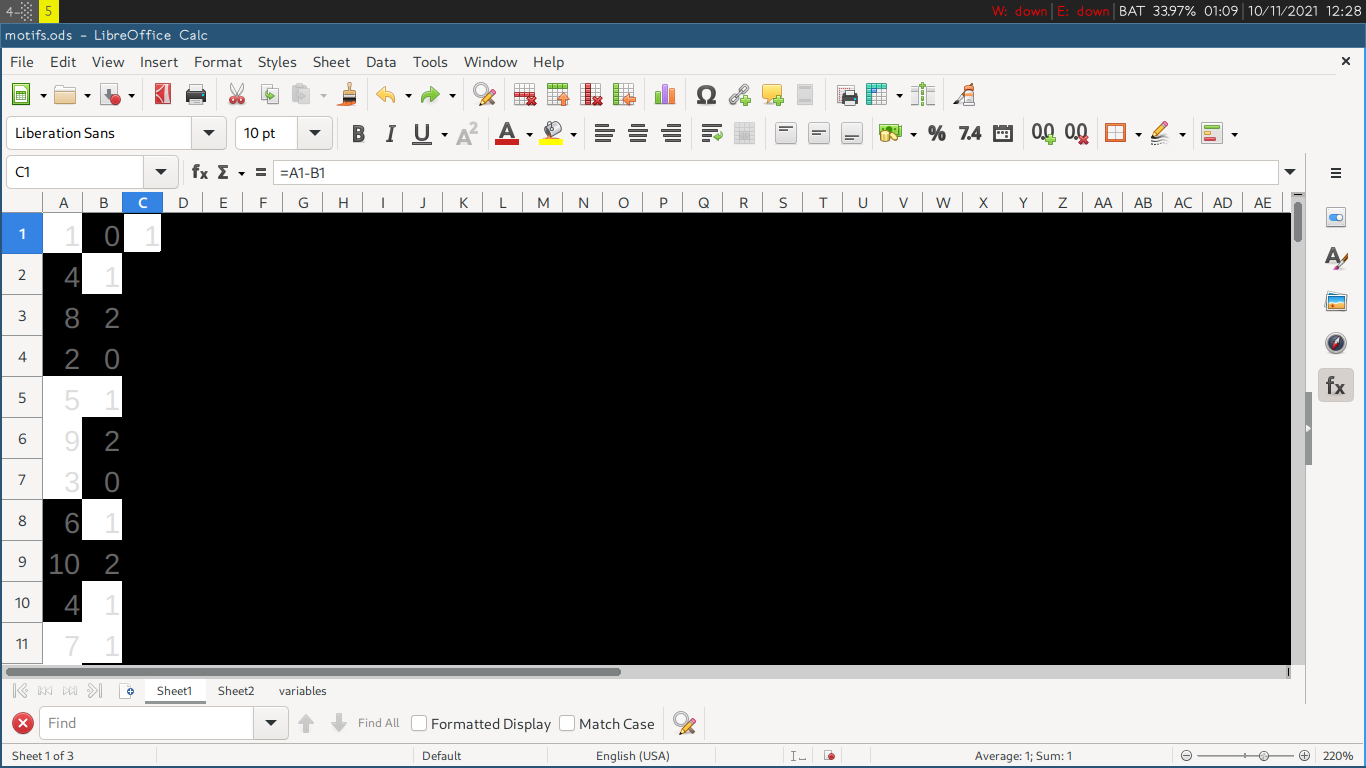
- In cell
B1, write a mathematical formula using a cell from the previous column. Always use theFLOOR()function to round the numbers, otherwise the conditional formatting might not work. Here is a formula example:=FLOOR(A1/4) - Drag&drop cell
B1down to row 50.
- In cell
C1, write a mathematical formula using cells from the two previous columns. Again, don't forget theFLOOR()function to round numbers. Here is a formula example:=FLOOR(A1-B1) - Drag&drop cell
C1down to row 50.
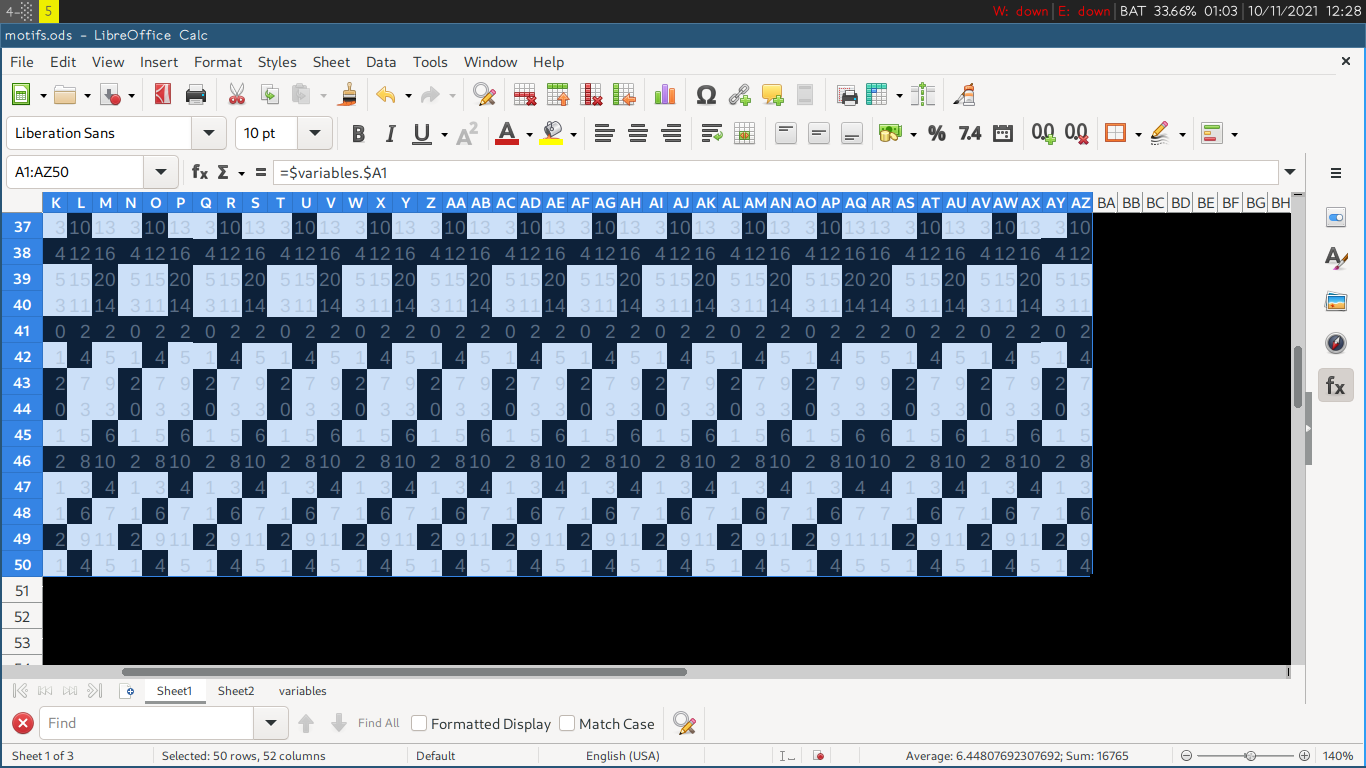
- Select columns A, B and C. Drag&drop the bottom-right corner to the right until column AZ (or the desired column for the total pattern. 1 column represents one needle/stitch on the knitting machine).
- You now have a pattern!
- Because we used variables, we can edit the pattern by editing numbers in the "Variables" sheet. The pattern on "Sheet 1" will update automatically.
- If you want to add more formula columns before step 5, you can!
 : Step 2
 : Step 3
 : Step 3
 : Step 4
 : Step 4
 : Step 5
2. Prepare the pattern for the knitting machine
Exporting the pattern
- Click on "File/Save As".
- Choose the .csv file type.
- Transfer the file to the facilitator.
We need to convert our .csv file to an image file such as .png or .jpg. During the workshop, to make things easier, the facilitator will convert the .csv files to .png files. Here are the steps for the facilitator (or any participant willing to go deeper in the process).
Convert .csv file to .png
- Download the Python script Python
csv2xpm.pyhere: https://gitlab.com/svilayphiou/csv2xpm/-/raw/main/csv2xpm.py?inline=false - Get the .csv file from participant and save it in the same folder as the file
csv2xpm.py. - Open a Terminal.
- Go into the folder where the file
csv2xpm.pyis located. For this, typecd /path/to/csv2xpm.py(replace the path according to where your file is located), and validate by typing theEnterkey. - Type
python csv2xpm.py my_pattern.csv(replace the .csv filename accordingly) and validate by typing theEnterkey. - If you look in a file browser, a file called
my_pattern.xpm(according to your .csv filename) has appeared.
- Open the
my_pattern.xpmfile with a bitmap editor such as (Gimp)[https://www.gimp.org/]. - Export the image with a .png extension →
my_pattern.png.
Troubleshooting the script
Sometimes the script does not work right away… (sorry for that!) In that case, open the .xpm file that is not working with a code or text editor.
The .xpm file will look like that:
! XPM2
8 25 2 1
A c #000000
V c #ffffff
AVAAVAAVAAVAAVAAVAAVAAVAAVAAVAAVAAVAAVAAVAA
VVVVVVVVVVVVVVVVVVVVVVVVVVVVVVVVVVVVVVVVVVV
AVAAVAAVAAVAAVAAVAAVAAVAAVAAVAAVAAVAAVAAVAA
VVVVVVVVVVVVVVVVVVVVVVVVVVVVVVVVVVVVVVVVVVV
VVVVVVVVVVVVVVVVVVVVVVVVVVVVVVVVVVVVVVVVVVV
AVAAVAAVAAVAAVAAVAAVAAVAAVAAVAAVAAVAAVAAVAA
VVVVVVVVVVVVVVVVVVVVVVVVVVVVVVVVVVVVVVVVVVV
AVAAVAAVAAVAAVAAVAAVAAVAAVAAVAAVAAVAAVAAVAA
On line 2, the first number 8 corresponds to the number of rows of the picture, so the number of lines of the file starting from line 5.
The second number 25 corresponds to the number of columns of the picture, so the number of characters each line (starting from line 5) has.
If those numbers don't match, you would have to replace the numbers with the correct ones. A code editor should tell you easily the line and columns numbers so you don't have to count all the lines yourself!
Once you're done correcting, you can save the file on itself and start again at "step 3".
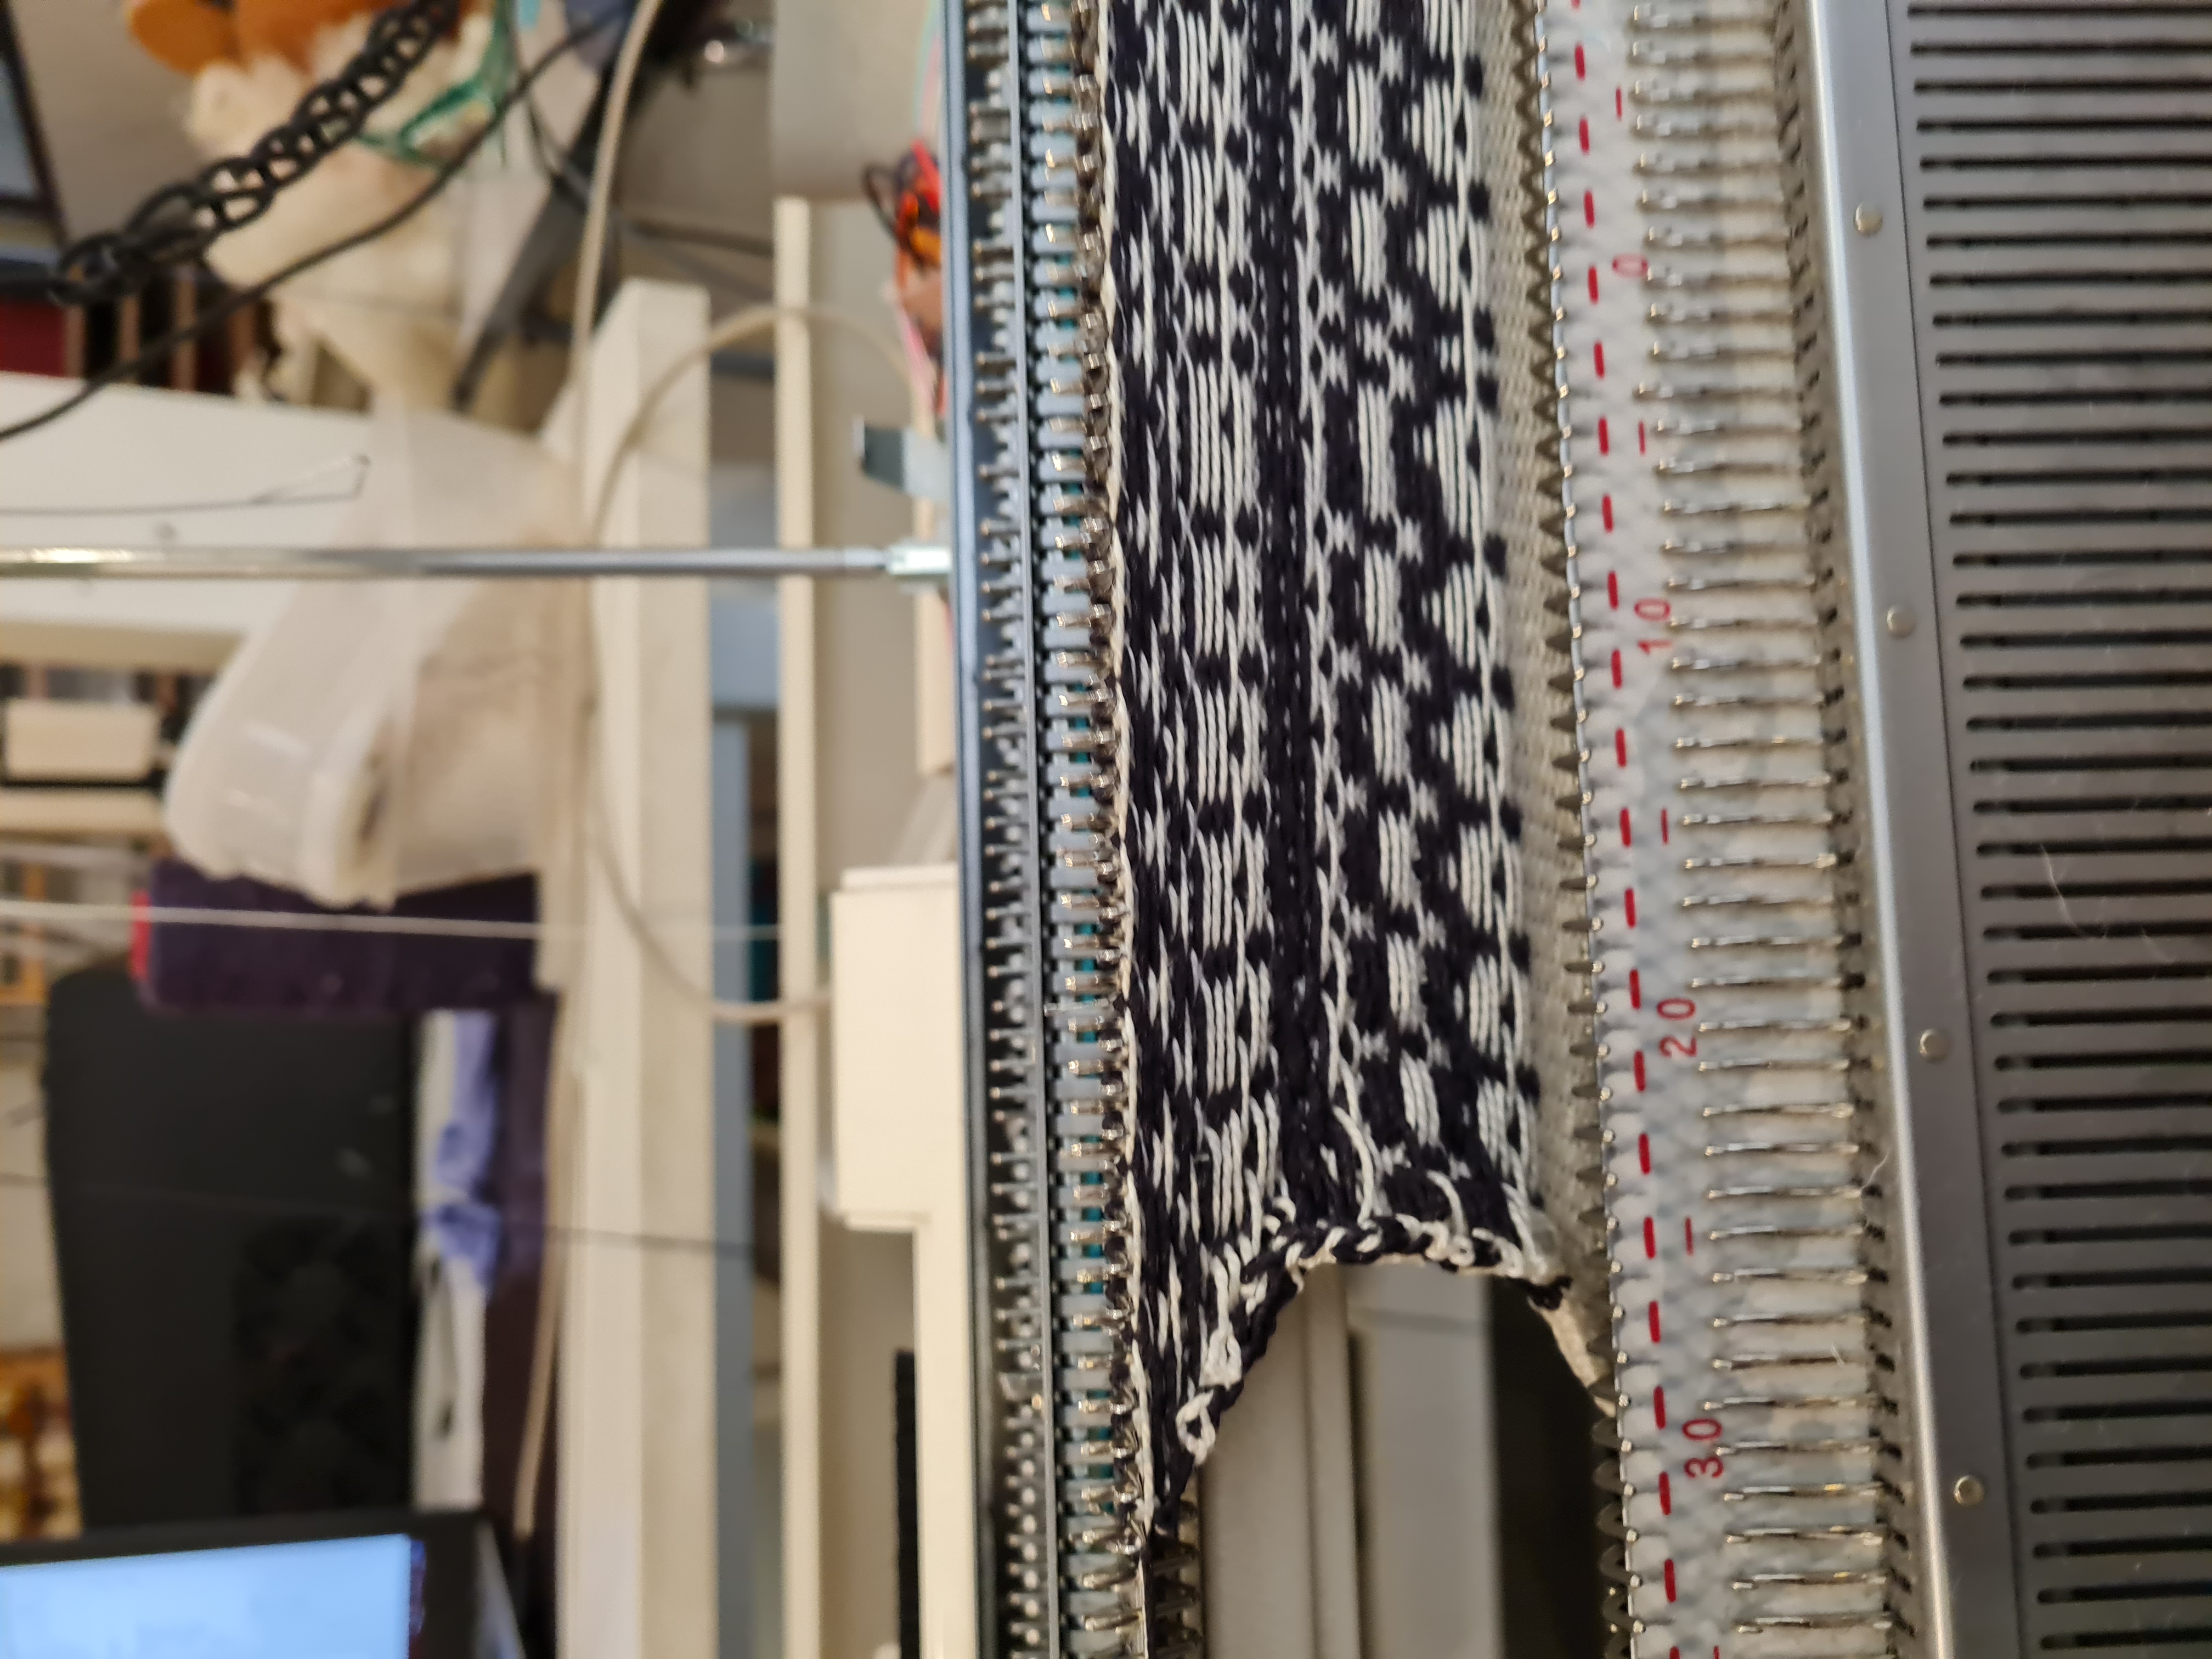
3. Knitting the pattern
Knitting preparation
- Cast on the number of stitches according to your pattern centered on the machine.
- Knit a few rows with the background color.
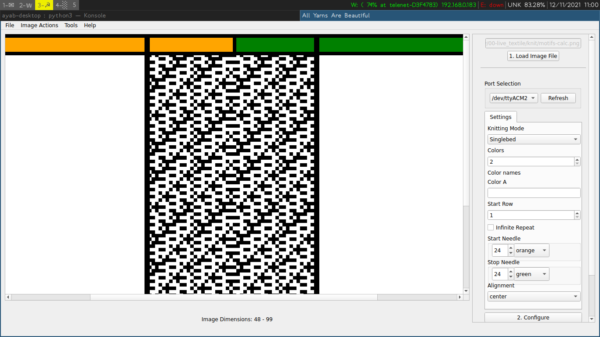
To send the pattern to the knitting machine, you need tha Ayab software available here: https://ayab-knitting.com/.
Ayab 0.95 quick manual
- Click on "Load file" to upload your
my_pattern.pngimage file. - Plug the Arduino to your computer with a USB cable.
- Choose the port where the Arduino is connected (in general, there is only one choice. On Linux, it is usually
/dev/ttyUSB0or/dev/ttyACM3).
- Knitting mode: Single Bed
- Colors: 2
- Start Row: 1
- Start Needle: 26
- Stop Needle: 26
- Alignment: center
- Click on Configure.
- Plug your knitting machine to an electric socket.
- Turn on your knitting machine (you should see a red line on the power on switch).
- Click on "Knit!".
- Put the carriage on the left side going over the left arrow mark of your machine.
- Put the carriage on mode KC II.
- Push the carriage on the right just after the left arrow mark. The Ayab shield should beep three times.
- Pass the carriage over your knit to the right.
- Press the MC button.
- Put the second color in the B slot of your carriage.
- Knit across. The shield should beep at the end of the row.
- Knit as many rows as needed. At the end of the pattern, the shield will beep dramatically.
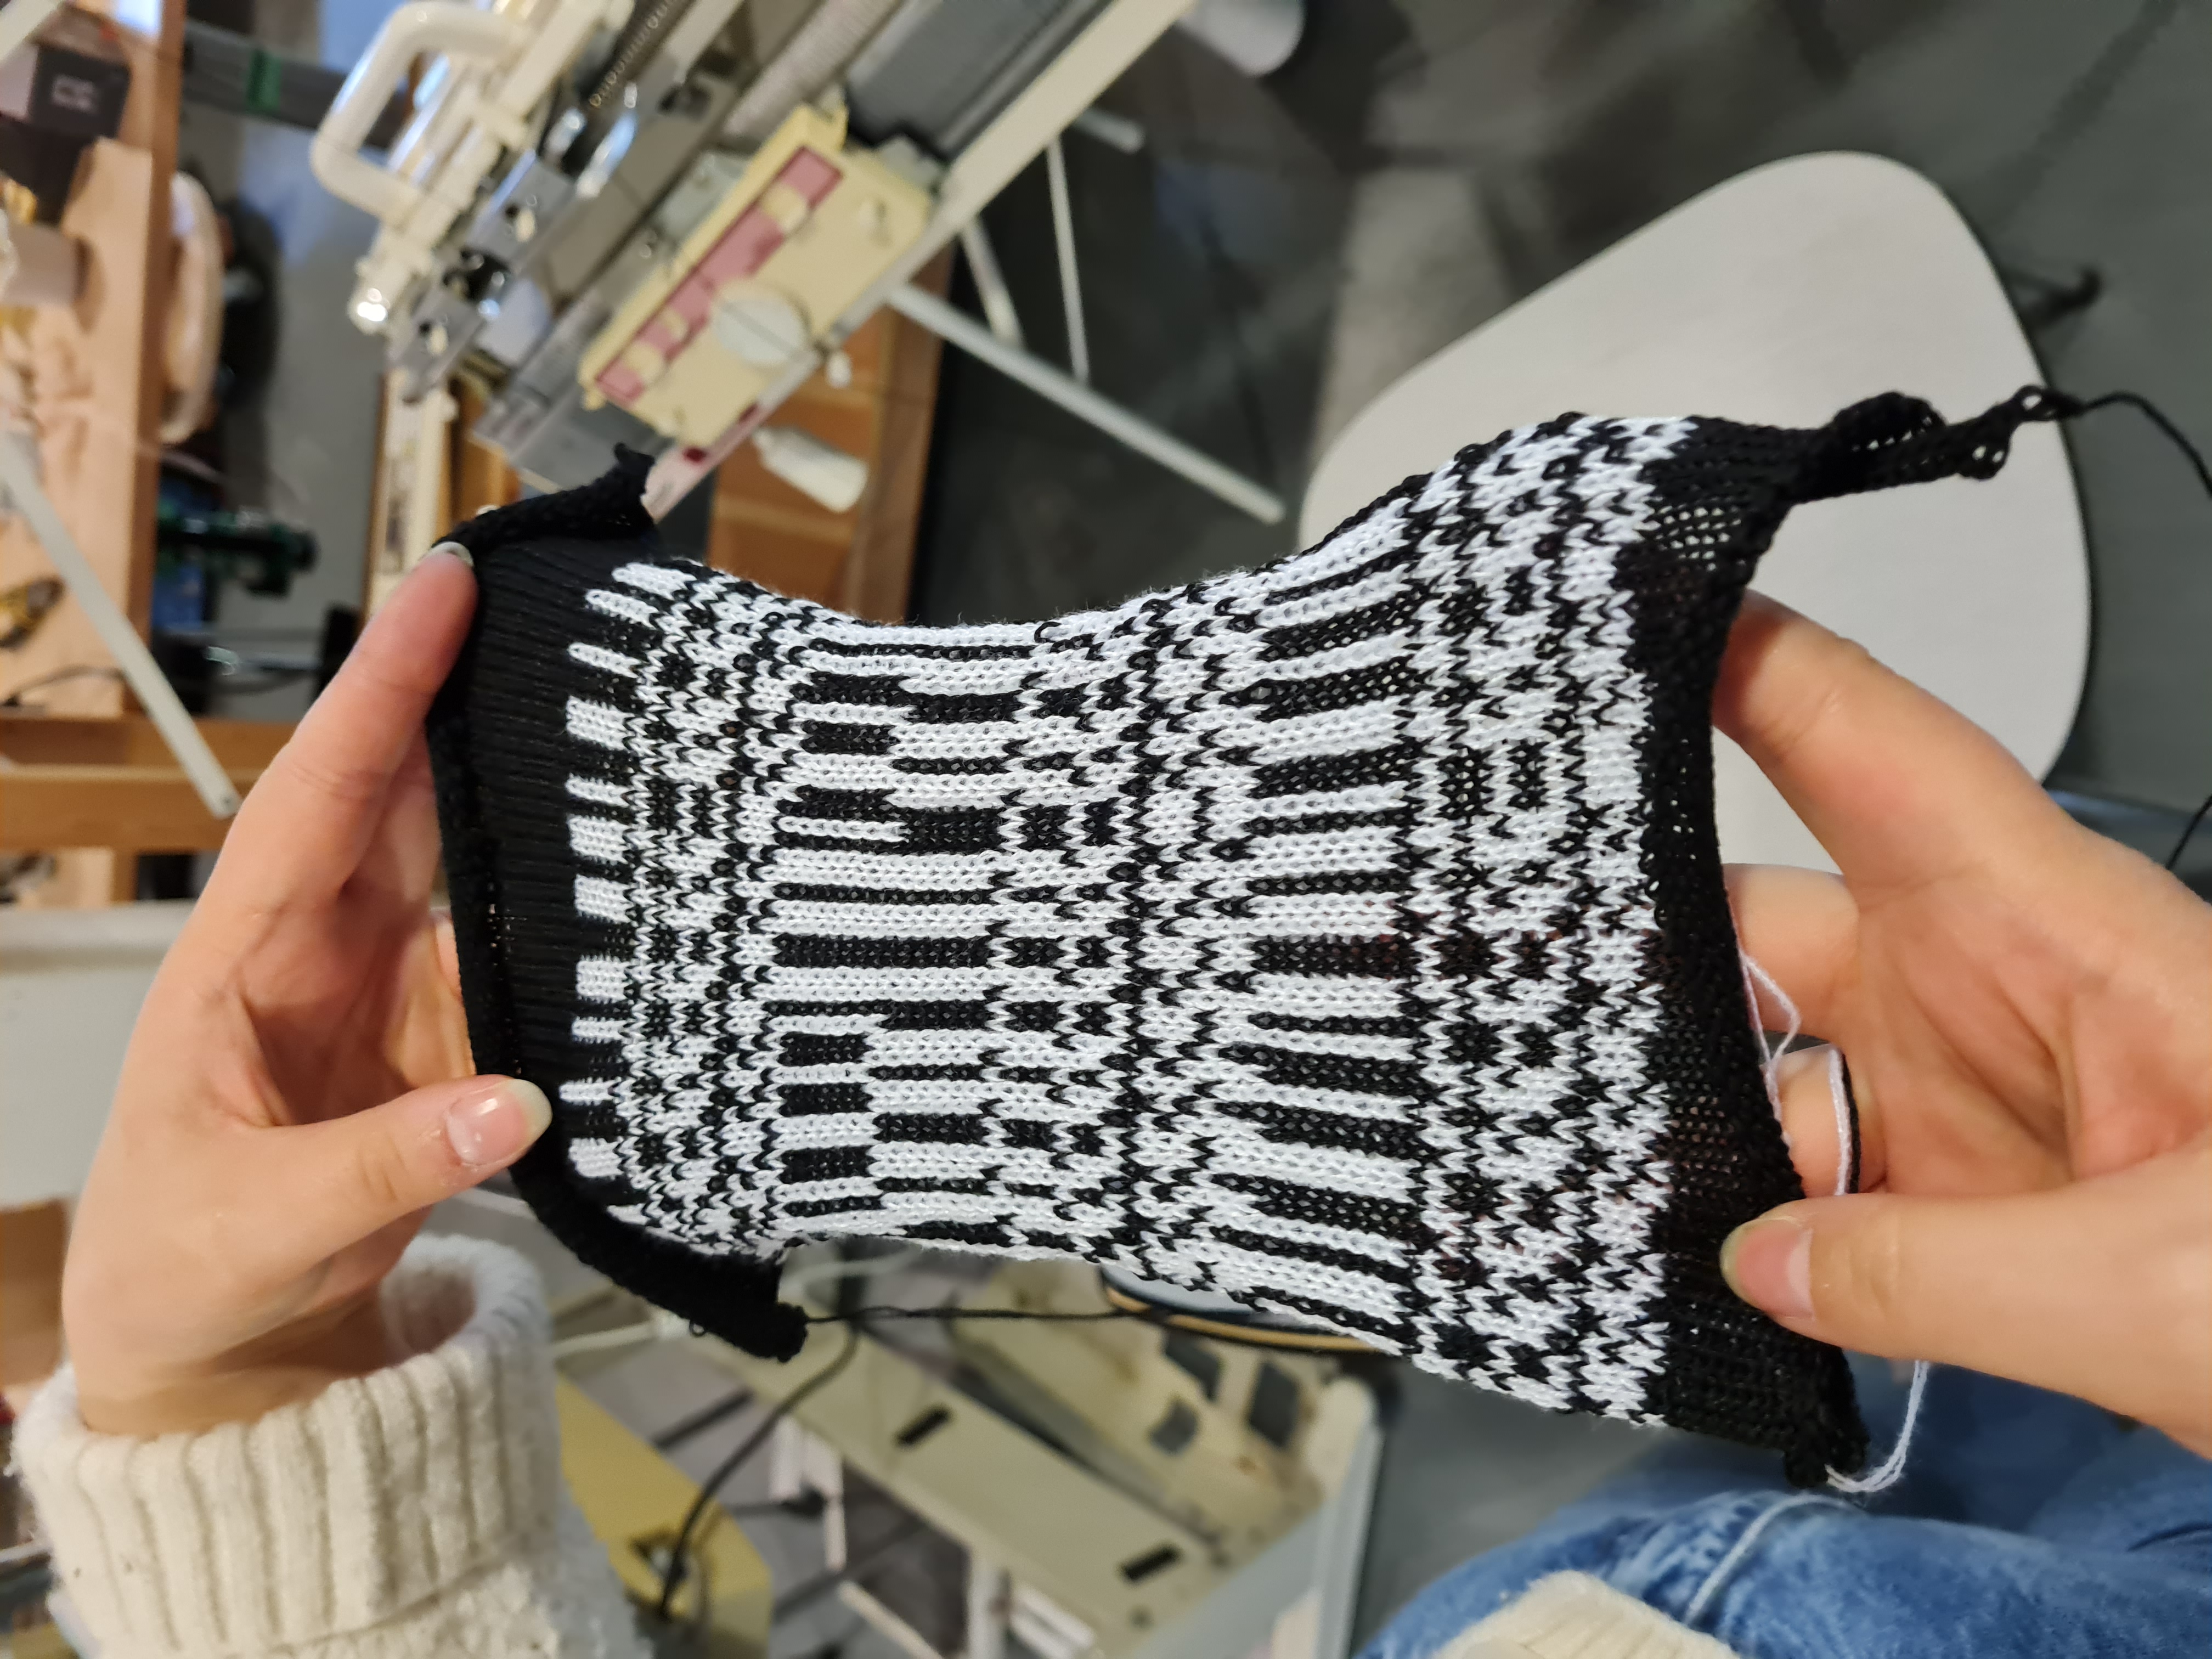
Photos


Licence and credits

Attribution — ShareAlike CC BY-SA This activity has been designed by stephanie xxx for shemakes.eu.