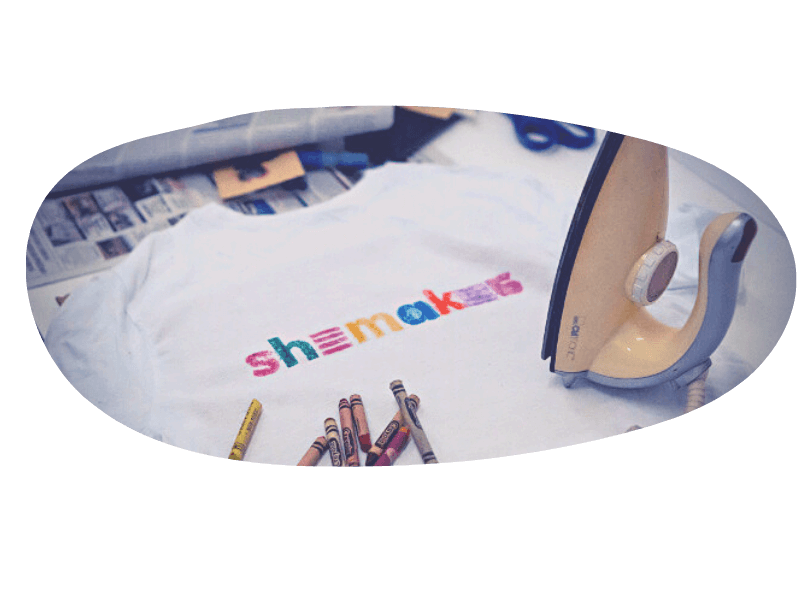
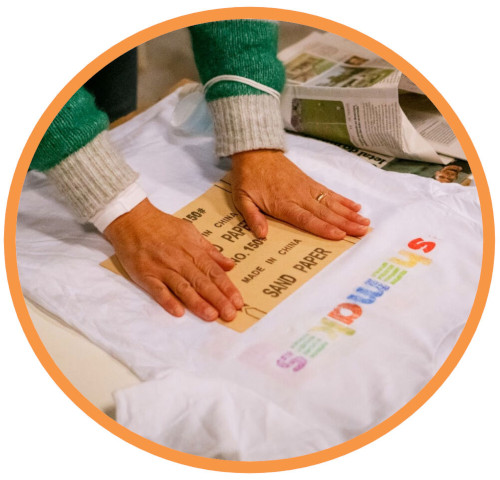
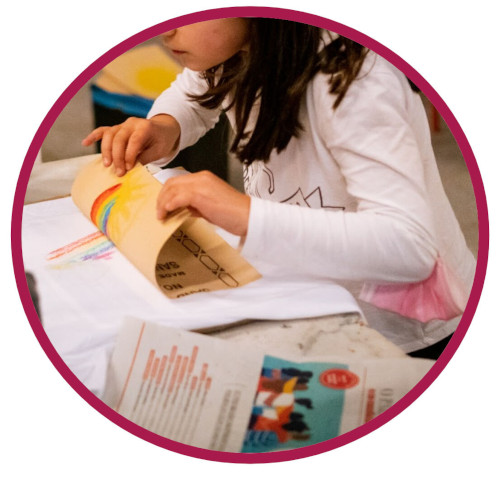
I sanded my T-shirt and tote bag
| Path | Target | Duration | Skills |
|---|---|---|---|
| Curiosity | Kids 8 to 18 | 1,5 h | Arts, 2D Digital Fabrication |
Introduction and context
Abstract
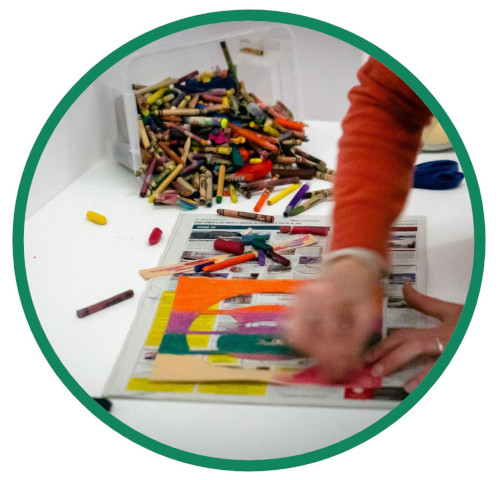
Customize your t-shirt or Tote bag ( or any other textile as long as it’s cotton) is a simple activity with a very pleasant result where sustainability can be applied: kids can reuse leftover crayons that so often go to waste. Digital Fabrication and technology can be introduced to the children with the use of the laser cutter to cut a pattern for all the participants
Learning through play is one of the methodologies used in kids' learning, where children invent and share their own games and DIY toys based on age, likes and interests. With Learning Through play, children can develop social and cognitive skills, mature emotionally, and gain the self-confidence required to engage in new experiences and environments (Wikipedia, 2021) Learning through making is another core methodology in the Fab Lab and makerspace environment. Martinez (2014) emphasizes that “Learning through making, both at schools and afterschool activities is contributing to the creation of a safe environment for kids to play, discover, tinker, experiment, activate their creativity and develop their fine motor skills”.
Intro
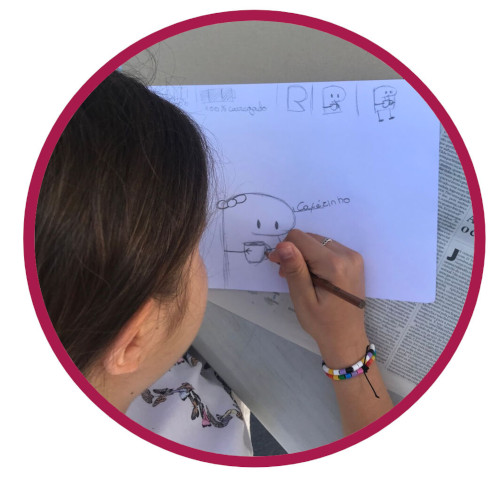
This is a simple activity that once learnt by the child can be taken a little further through the exploration of 2D drawing, to cut in the laser cutter, in programs such as Inkscape or similar.
The duration of this activity is 1h 30' For a more advanced level, where children have knowledge of digital design, the fabrication of a customized design can be considered, for which the use of a computer and a laser cutter is also required.
In this case, it is advisable to divide the activity into 2 sessions, in order to proceed with the drawing and the cutting of the designs.
The ideal number for each group is 10-12 kids. Two instructors are needed for each group to accompany the ironing process and make sure that nobody gets burnt.
Objectives
The activity aims at introducing participants to a printing technique and raising awareness of the potential of digital fabrication.
Learning Outcomes: - Realize the potential of the laser cutter - The possibility of customizing an object - Learn an eco-friendly printing technique - Learn the importance of designing in mirror image for printing
Target audience and context of use
Kids, families, educators with interest in learning how to customize their own textiles with everyday materials.
This activity can be celebrated in different places like fab Labs, schools, museums, or almost any other space where you can have a place to plug the irons.. The booklet can be printed and given to the participants with the kit of materials
Tips: set up an eventbrite for registration and communicate via your channels.
Recommended number of attendees (10-12) per group and 2 instructors
Preparation and materials
Dive into the slides presentation provided here, to see the step by step instructions. Prepare the kits of materials for each participant.
Create your team of facilitators and organize some testing sessions and brief meetings for coordinating with facilitators.
Check that all the needed tools and materials are available and book the room for the event.
Prepare in advance:
- Ironed T-shirts
- Pre cutted logos or ID (example)
- Crayons in different colors
- Place to iron the printings
Equipment, Tools and Materials
- Computers (for the advanced level)
- TV or projector to present the presentation
- 2 tables and 12 chairs
- Lasercutter
- Iron
- Scissors
- Rulers
- Cotton T- shirt or tote bag
- Colored Crayons
- Sand paper sheet
- Shemakes logo laser cutted on sandpaper sheet ( you must cut it on the non sand face)
- Sheet of paper
- Pencil
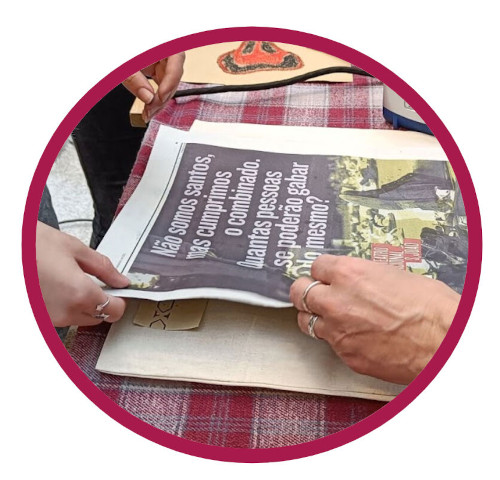
- Newspaper sheet
- Piece of cardboard that fits in the t-shirt or tote bag
- kit of materials and instructions (Power Point or google slides presentation)
Step by Step Instructions
Step by Step instructions

Safety rules & Tips
It’s essential that a monitor is always beside the girl who is using the iron When “peeling” the sandpaper after ironing be careful because it may be hot
Presentation for the class
Flyer for participants
Downloadables
| Presentation | Brochure | Design |
|---|---|---|
| Presentation | Brochure 1 | Design |
Tips to facilitate the activity in context (to-do / not do)
To do: - Explain the outcome of the workshop at the begining of the workshop - Give kids the opportunity of applying their creativity offering different templates and paper
Not to do: - Work in a hurry - Deliver the material in a disorderly way- ...
Estimated cost
You might plan some costs for getting the materials and tools but also some fees linked to your collaboration with the place you run the workshop. In our case, we made the activity in our own space.
This is the BOM (Bill Of Materials) but, always consider to find local providers.
| Quantity | Description | Link to vendor |
|---|---|---|
| 1 | White T-shirt | Color on you |
| 1 | Tote Bag | Color on you |
| 2 | Sand Paper | Amazon |
| 1 | Scissors | Amazon |
| 1 | Crayons | Left overs |
References
Links to photos and recorded materials
Licence and credits

Attribution — ShareAlike CC BY-SA This activity has been designed by Alexandra Baltazar for shemakes.eu. It is based on ViVA Lab learning experiences and methodology.
Related and supporting activities/modules
It can be combined with the other topics of Topic/skills, within the Sustainability Package of Fabricademy, such as OS Circular Fashion.